How to Make a Painted Rock Paperweight Gift
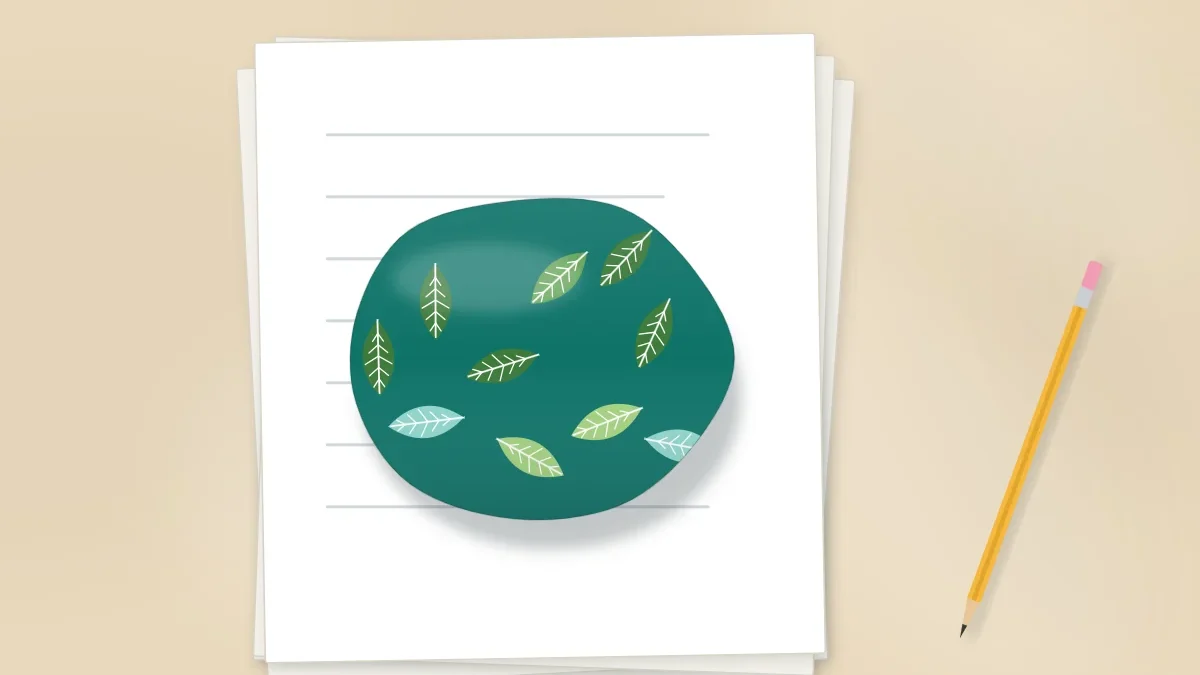
Make a painted rock paperweight with a leafy pattern, felt pads on the base and a small gift box. Covers choosing a flat, heavy stone and finishing it for daily use.
Tutorial at a glance
Materials
- Acrylic craft paint: white, navy or teal, light green, dark green, one accent color
- Flat brush, about 3/4 in (2 cm)
- Round brush, size 4
- Liner brush
- Pencil
- Clear sealer, brush-on or spray
- Four self-adhesive felt pads
- Small gift box, tissue paper and ribbon
A paperweight is one of the few painted rock projects that has a job to do. It needs enough weight to hold down a stack of paper, a flat base so it does not rock, and an underside that will not scratch a desk. Get those three things right and the painting on top can be as simple as you like.
This version uses a leafy pattern in two greens on a deep background, with felt pads underneath and a small box for giving. The design is forgiving, because leaves do not have to match.
Choosing the stone
Size and shape matter more here than for most projects. Look for a stone about 3 to 4 in (8 to 10 cm) across that feels heavy for its size, with a domed or gently curved top and a flat underside. Set it on a table and press on each edge. If it wobbles or spins, pick another one; felt pads can correct a slight rock but not a round base.
A smooth surface makes the pattern easier to paint and nicer to pick up. Landscaping suppliers and craft stores sell large, smooth stones in this size. If you would prefer to find your own, rules differ by place and collecting is not allowed in many parks and protected areas, so check local rules and get permission first. The guide to choosing rocks for painting covers what to look for in more detail.
Supplies
- One large, flat-bottomed smooth stone, washed and fully dry
- Acrylic craft paint: white, a deep background color such as navy or teal, two greens (one light, one dark) and one accent color such as coral or yellow
- A flat brush about 3/4 in (2 cm) wide, a round brush in size 4 and a liner brush
- A pencil, a jar of water, a cloth and a palette
- Clear sealer, brush-on or spray
- Four small self-adhesive felt pads, or a sheet of adhesive felt and scissors
- A small gift box, tissue paper and ribbon

How to make the paperweight
- Check and mark the base. Decide which side is the bottom and make a small pencil cross on it. You will leave this side unpainted so the felt pads stick directly to clean stone.
- Paint the base coat. With the flat brush, cover the top and sides with a thin coat of white, stopping at the edge where the stone meets the table. Let it dry. The white layer helps the background color look rich and even.
- Add the background color. Brush on the deep background color in two thin coats, letting the first dry before adding the second. Carry the color down the sides to just under the widest point of the stone, so no bare stone shows when it is sitting on a desk.
- Sketch the main stems. With a pencil, lightly draw three or four curving lines that start near the bottom edge and sweep up across the stone in different directions. These are the stems. Let them cross over the top of the stone and run off the edges, which makes the pattern look like it wraps around.
- Paint the stems. Thin the dark green with a drop of water and follow each pencil line with the liner brush. Pull the brush toward you in one smooth stroke and turn the stone, not your hand, to stay comfortable.
- Add the leaves. Load the round brush with light green. For each leaf, touch the tip to the stem, press down so the bristles spread, drag about 1/2 in (12 mm), and lift to a point. Work up both sides of each stem, alternating left and right. Then switch to dark green and add a few more leaves in the gaps, overlapping some of the light ones.
- Paint the details. When the leaves are dry, use the liner brush to add a thin center vein to some of the larger leaves in the opposite green. Then scatter small dots of the accent color in the empty spaces, in loose clusters of three, like berries.
- Sign the underside. Turn the stone over and write initials, a date or a short message on the bare base with a paint pen or the liner brush, keeping clear of the four spots where the felt pads will go.
- Let it dry, then seal. Leave the stone until the paint is dry all the way through. A paperweight is handled every day, so a clear sealer is a sensible finishing step. Apply it in thin coats and follow the manufacturer’s instructions on the label for drying times, number of coats and ventilation. An adult should handle sealers, particularly sprays.
- Attach the felt pads. When the sealer is completely dry, wipe the base with a dry cloth. Stick four felt pads near the outer edge of the underside, spaced like the corners of a square, and press each one firmly. Set the stone down and check that it sits level.
Tip
If the stone still rocks slightly once the pads are on, add a second pad on top of the one at the low corner. Stacking pads is an easy way to level a base that is not quite flat.
Other designs that suit a paperweight
The same stone, base coat and finishing steps work with other patterns. Choose a design to suit the person who will use it.
| Design | Look | Good for | Where to start |
|---|---|---|---|
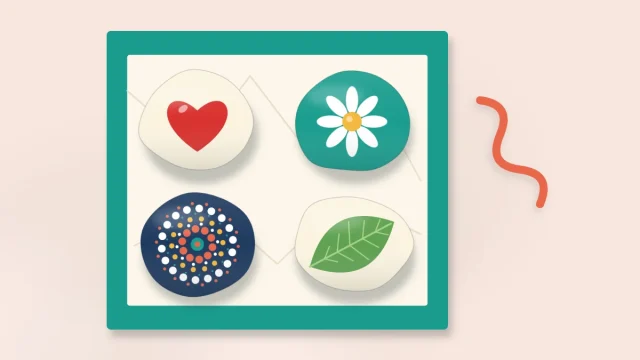
| Leafy pattern | Natural, relaxed | Plant lovers, home offices | Painting leaves on rocks |
| Radial dot pattern | Detailed, symmetrical | Anyone who likes pattern and color | Mandala-inspired rock painting |
| Color blocks and triangles | Crisp, modern | Work desks, minimal spaces | Geometric designs |
| Small landscape | Calm, pictorial | Travelers, outdoor lovers | Sky bands first, then hills and trees |
Whichever design you choose, keep heavy texture away from the very top of the stone. Thick raised dots there are the first thing to get knocked when the paperweight is picked up and set down.
Wrapping it as a gift
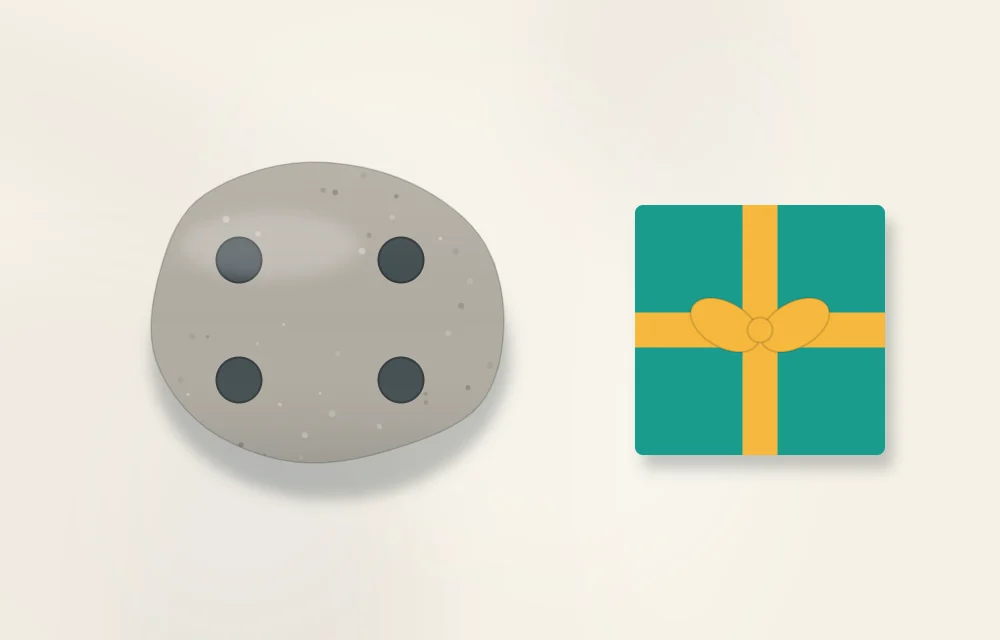
Choose a box only a little larger than the stone so it cannot slide around. Line it with crumpled tissue paper, set the stone in the middle with the painted side up, and fold the tissue over the top. A stone this size is heavier than the box suggests, so tape the lid or tie the ribbon in both directions, and hand it over from underneath.
A short note is a helpful addition. Mention that the paperweight is hand painted, that it is best kept indoors and wiped with a soft dry cloth, and that it is a decorative object, not a toy for small children. For more things to make and give, see the list of painted rock gift ideas.
Frequently asked questions
What size rock makes a good paperweight?
A stone about 3 to 4 inches across that feels heavy for its size works well. It should have a flat underside so it sits without wobbling. Test it on a table before you start painting.
Do I need to seal a painted rock paperweight?
It is a sensible step, because a paperweight is picked up and moved often and a clear sealer helps protect the paint from scuffs. Apply thin coats and follow the instructions on the product label. An adult should handle the sealer.
How do I stop a rock paperweight from scratching a desk?
Stick four small self-adhesive felt pads near the edge of the underside, or cut a piece of adhesive felt to fit the base. Attach them to clean, dry stone after any sealer has dried. If the stone rocks, add a second pad at the low corner.