How to Choose Rocks for Painting
How to pick stones that are easy to paint: quick tests for a smooth surface, which shapes suit which designs, the best size to learn on and which stones to leave behind.
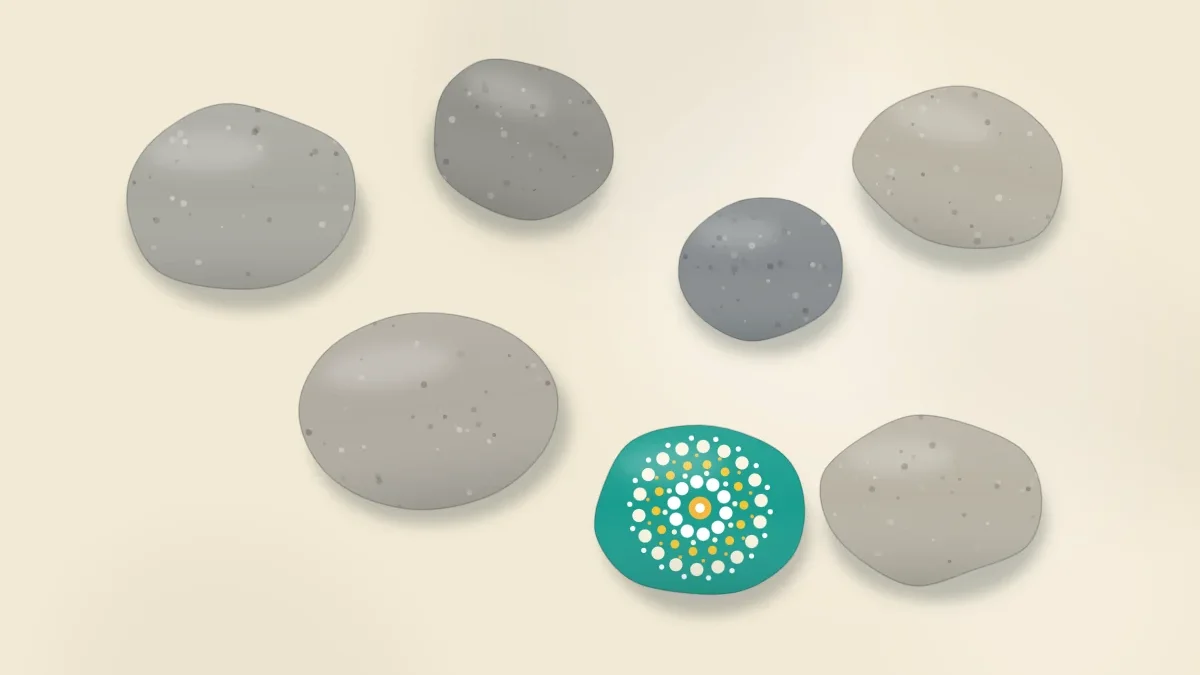
The stone decides more about a painted rock than most beginners expect. A smooth, flat stone lets the brush glide and keeps lines crisp. A rough or crumbly one fights the paint at every stroke, no matter how careful the hand is.
Choosing well takes about ten seconds per stone once you know what to check: surface, shape, size and where the stone came from.
Surface: the one thing that matters most
Paint follows whatever is underneath it. On a smooth stone, a brush stroke leaves an even band of color. On a pitted stone, paint pools in the holes and skips over the high points, so lines look broken and details blur.
Three quick checks sort good stones from poor ones:
- The thumb test. Rub a thumb across the face of the stone. It should feel smooth or only slightly grainy, like an eggshell or very fine sandpaper.
- The fingernail test. Scratch the surface lightly. If grains come away or it leaves powder on your finger, the stone is too soft or crumbly, and paint can flake off along with the surface.
- The look test. Tilt the stone under a light. Cracks, deep pits and sharp ridges show up as shadows. A hairline mark is fine; a crack you can catch a nail in is not.
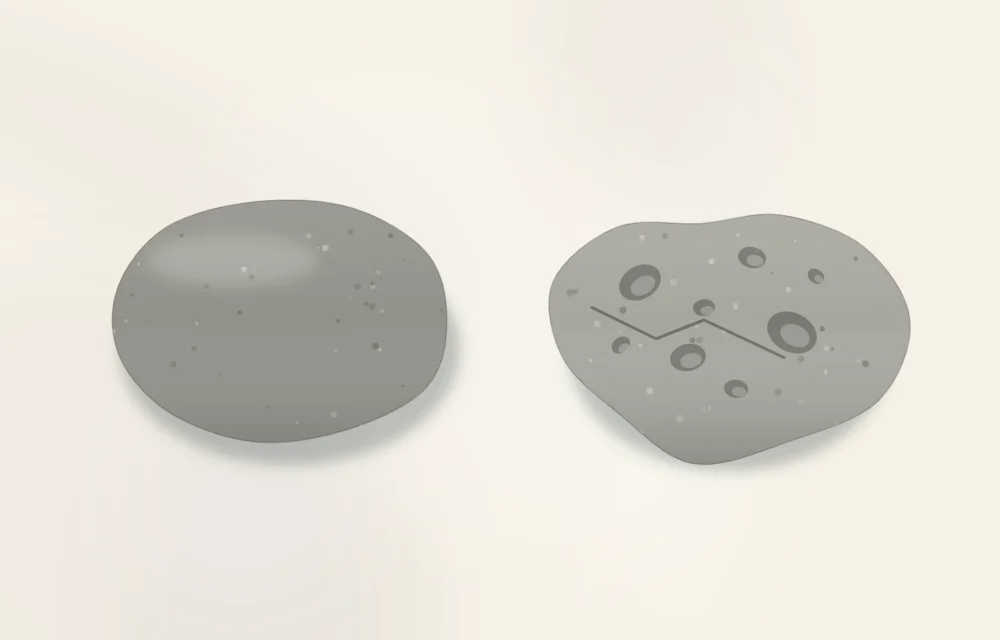
Slightly grainy stones are still usable. A couple of base coats fill fine texture, and the guide on how to clean and prepare rocks explains how to smooth small rough spots before painting.
Flatness and stability
A stone with one fairly flat face is easier to paint than a ball-shaped one, because the brush stays at a steady angle. A flat underside matters just as much. Set the stone on the table and tap one edge. If it rocks or spins, it will do the same thing under the brush. Stones that sit still make outlining and dot work far less frustrating.
Shape: let the stone suggest the design
Experienced rock painters often pick the stone first and the design second. The outline of the stone becomes the outline of the subject, which removes a lot of drawing.
| Stone shape | Designs that suit it | Why it works |
|---|---|---|
| Round | Ladybugs, pumpkins, radial dot patterns, faces | Symmetry is built in, and patterns can grow outward from the center |
| Oval | Bumblebees, fish, owls, strawberries, leaves | The longer axis gives a natural head-to-tail direction |
| Long and narrow | Cacti, garden markers, vines, caterpillar stripes | Stands upright in gravel or soil and suits repeated bands |
| Rounded triangle | Strawberries, watermelon slices, trees, mountains | The point becomes a tip or a peak with no extra drawing |
| Wide and flat | Landscapes, lettering, scenes with several elements | Acts like a small canvas with room for a horizon line |
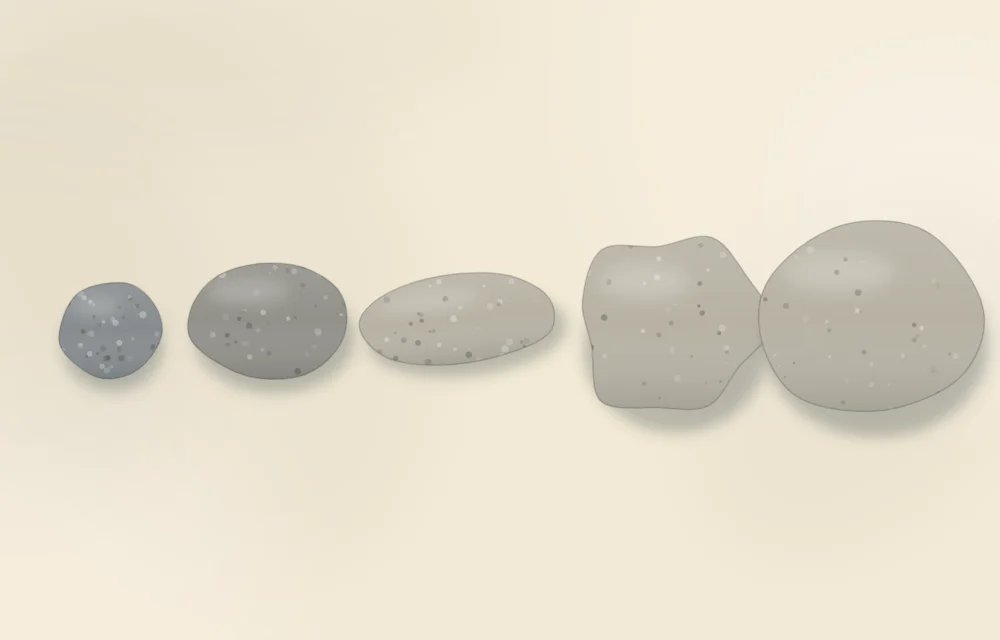
A round stone is close to ideal for the ladybug rock, while a wide, flat one gives enough room for the sky bands in landscape painted rocks.
Size: start in the middle
For a first project, choose stones about 2 to 3 in (5 to 8 cm) across. That size fits comfortably in the palm, covers quickly with a flat brush and leaves room for details without needing the tiniest brush.
- Under 1.5 in (4 cm): charming, but every slip is obvious. Save these for dots, hearts and other one-shape designs.
- 2 to 3 in (5 to 8 cm): the easiest range for learning. Most beginner tutorials are written for it.
- 4 in (10 cm) and larger: good for scenes and paperweights, but they use more paint and take longer to dry. A heavy, palm-sized stone is what the painted rock paperweight calls for.
Stone color and how it affects paint
Bare stone color shows through thin paint. Yellow, orange and pink look dull over dark gray stone unless a white base coat goes down first. Pale stones need less preparation for bright colors. Dark stones are useful in their own right, though: white and light dots stand out strongly on a dark background, so a naturally dark, smooth stone can sometimes be left unpainted as the background of a pattern.
Either way, the natural color is not a reason to reject a stone. It only changes how many base coats are needed.
Where to get stones
The simplest source is a store. Craft shops sell small bags of smooth stones made for painting, and garden centers and landscaping suppliers sell river stones in larger bags at a low cost per stone. Bagged stones vary, so expect to sort them: set aside the smoothest for detailed designs and use the rougher ones for practice.
Watch out
Rules about collecting rocks differ by place. Collecting is not allowed in many parks and protected areas, and stones on private land belong to the owner. Check local rules and get permission before taking any stones, or buy craft or landscaping stones instead.
Stones to leave behind
- Crumbly or sandy stones that shed grains when rubbed. The surface can come away under the paint.
- Very porous stones with a sponge-like texture. They soak up paint and need many coats before color looks solid.
- Stones with a glassy or waxy shine. Some bagged decorative pebbles have a polish or coating that paint has trouble gripping. If water beads on the surface, plan on a light sanding or choose a different stone.
- Cracked stones. A crack tends to show through the paint as a dark line and can widen over time.
- Stones with sharp edges. They are uncomfortable to hold and wear down brush tips quickly.
Tip
Sort a new batch of stones into three piles: smooth and flat for detailed work, slightly textured for simple designs, and rough ones for testing colors and practicing strokes. Nothing is wasted, and the best stones are saved for the designs that need them.
A ten-second checklist
Before a stone goes into the keep pile, confirm four things: it feels smooth under the thumb, nothing rubs off, it sits still on the table, and its shape suggests at least one design. Stones that pass are ready for washing, which is the next step before any paint goes on. For the whole process from bare stone to finished design, go back to the overview in rock painting for beginners.
Frequently asked questions
What kind of rocks are best for painting?
Smooth, dense stones with at least one fairly flat face are the easiest to paint. River-style stones sold in craft shops and garden centers are a common choice because the surface lets the brush glide evenly.
Can I paint rocks I find outside?
It depends on where they are. Rules differ by place and collecting is not allowed in many parks and protected areas, so check local rules and get permission first. Buying craft or landscaping stones is an easy alternative.
What size rock should a beginner start with?
Stones about 2 to 3 inches (5 to 8 cm) across are the easiest to learn on. They fit in the palm, cover quickly with a flat brush and still leave room for details.