10 Common Rock Painting Mistakes and How to Fix Them
Streaky color, peeling paint, wobbly lines and cloudy sealer all have plain causes. Here are ten common rock painting mistakes with a fix for each one.
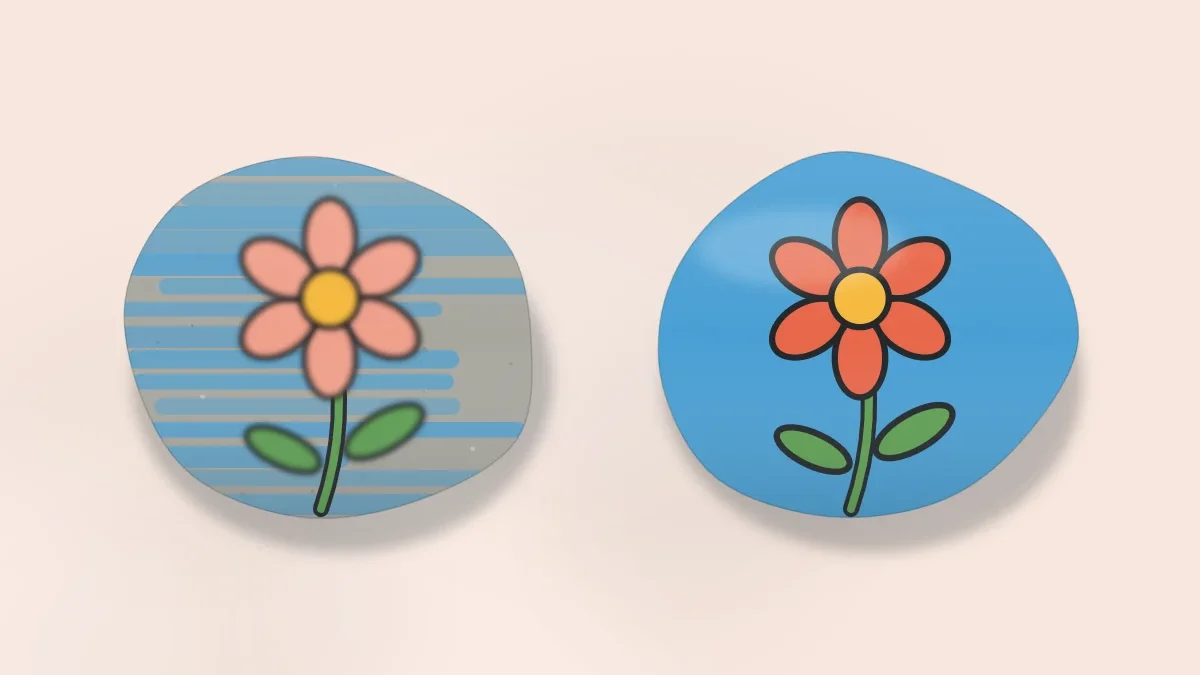
Most painted rocks that go wrong fail for one of a small number of reasons, and almost none of them have to do with artistic ability. The causes are practical: a damp stone, paint that is too thick, a layer that was not dry, a hand with nothing to rest on.
Here are the ten mistakes that catch beginners most often, how to recognize each one and what to do about it, both on the current stone and on the next.
Quick reference
| What you see | Most likely cause | Fast fix |
|---|---|---|
| Paint peels or flakes | Dirty or damp stone | Wash, dry fully, repaint |
| Streaky, patchy color | One thick coat or watery paint | Two or three thin coats |
| Dull yellows and pinks | No light base under the color | White underlayer first |
| Muddy, blurred edges | Painting onto wet paint | Let each layer dry |
| Wobbly lines | Unsupported hand, thick paint | Rest the hand, thin the paint, turn the stone |
| Smeared or cloudy finish | Sealed too soon or too heavily | Wait longer, use thin coats |
Mistakes before the paint goes on
1. Choosing a rough or crumbly stone
Pits and ridges break up brush strokes, and a stone that sheds grains takes the paint with it. Rub a thumb across the surface before starting: it should feel smooth and nothing should come off. If a design is already under way on a rough stone, simplify it to bold shapes and dots, which tolerate texture, and keep the smoother stones for fine detail. The checks are described in how to choose rocks for painting.
2. Skipping the wash, or painting a damp stone
Dust and oils stop paint from gripping, and moisture trapped in the stone can cause cloudy patches, bubbles or peeling. If paint is lifting, sand the loose area smooth once it is dry, wipe away the dust and repaint. Next time, scrub the stones in soapy water, rinse them and leave them to dry overnight, as explained in how to clean and prepare rocks.
3. Leaving out the base coat
Bright colors painted straight onto gray or brown stone look dull because the stone shows through. Yellow, orange, pink and light green are the worst affected. The fix works at any stage: paint the shape in white, let it dry, then paint the color over it. Starting with a white base coat on the whole stone avoids the problem altogether.
Mistakes while painting
4. Using paint that is too thick
One heavy coat seems faster, but it dries slowly, holds every brush mark as a ridge and can crack. If a thick patch is still wet, spread it out with a damp brush. If it has dried into ridges, sand lightly with fine sandpaper and recoat. Aim for paint that flows like heavy cream and build color with several thin layers.
5. Using paint that is too watery
The opposite problem gives see-through, streaky color that runs toward the edges and pools in low spots. It usually comes from a brush that was not blotted after rinsing. Dab the wet area with a cloth, let it dry and go over it with fuller paint. Blot the brush on a cloth every time it leaves the water jar.

6. Not letting layers dry
Painting a new color onto wet paint drags the two together. Edges blur, white turns pink or gray, and the brush lifts the layer below and leaves a bare patch. When this happens, stop. Working on it while wet only spreads the damage. Let the area dry, repaint the background color over the mess and then redo the shape. Drying time depends on the paint, the thickness of the coat and the room, so check the label and touch a corner lightly before continuing. The order of layers is covered in layering paint on rocks.
7. Pressing hard with the pencil
Dark pencil lines show through pale paint, and graphite smears into wet color and turns it gray. Sketch with very light pressure, just enough to see. If lines are already too dark, lift them with a soft eraser before painting, or cover them with a thin coat of the base color and sketch again more lightly.
8. Wobbly outlines and bleeding lines
Shaky lines usually come from a hand hovering in the air and from thick paint that drags on the brush. Bleeding lines, where the outline spreads into a soft fuzzy edge, come from outlining over paint that is not yet dry or from overloading a paint pen. Rest the heel of the hand on the table, thin liner paint until it flows like ink, turn the stone as the line curves and outline only on dry paint. To correct a line, let it dry, tidy the edge with the neighboring color and redraw it. There is a full method in how to outline painted rocks.

9. Trying too much detail on a small stone
A design that looks simple on paper can be cramped on a stone 2 in (5 cm) wide. Tiny shapes merge, and each correction makes the surface busier. Reduce the design to three or four clear shapes, or move it to a larger stone. A useful test is to sketch the design on paper inside an outline traced around the stone; if the pencil cannot fit a detail there, a brush will not manage it either.
Tip
Keep a little of the background color on the palette until the design is finished. It is the eraser: once a mistake is dry, a dab of background color covers it and the shape can be painted again.
Mistakes at the finish
10. Sealing too soon, too heavily or not at all
Paint that feels dry on the surface can still be soft underneath. Sealer applied at that point can drag the colors, smear paint pen lines or dry cloudy. A heavy coat of sealer can also run and pool around the base of the stone. Leave the stone unsealed, on the other hand, and the paint is more easily scuffed and chipped by handling.
Follow the manufacturer’s instructions on the label for how long the paint must dry first, how many coats to use and how long to wait between them. Apply thin coats, and test the sealer over paint pens on a spare stone before using it on a finished piece. Even sealed, painted rocks kept outdoors can fade, chip or wear and may need touching up. The whole process is described in how to dry and seal painted rocks.
Watch out
Use spray sealers outdoors or in a well-ventilated space as directed on the can, and keep spraying and sanding as adult jobs when children are painting.
The pattern behind most mistakes
Seven of these ten come down to water and time: a stone that was not dry, paint with too much or too little water, or a layer that needed a few more minutes. Slowing down between steps fixes more problems than any new tool. Painting two or three stones in rotation helps, because there is always a dry one ready while the others wait.
Frequently asked questions
Why is the paint peeling off my rocks?
Peeling usually means the stone was dusty, oily or still damp inside when it was painted, or that the stone surface itself is crumbly. Wash stones in soapy water, let them dry overnight and choose dense, smooth stones.
How do I fix a mistake on a painted rock?
Let the mistake dry completely, then paint over it with the background color and redo the shape once that is dry. A wet slip can sometimes be lifted right away with a damp cotton swab.
Why does my sealer smear the design?
The paint or pen lines were probably not fully dry, or the sealer does not suit the pens used. Wait as long as the label says, apply thin coats and test the sealer on a spare stone first.