How to Outline Painted Rocks for Clean, Crisp Designs
Outline painted rocks with a liner brush or a fine acrylic paint pen: how to thin the paint, steady your hand, pull clean lines and fix slips.
Tutorial at a glance
Materials
- Liner brush
- Fine-tipped acrylic paint pen in black or another dark color
- Acrylic craft paint: black or dark brown
- Palette or lid for thinning paint
- Jar of water and a cloth
- Scrap paper for test strokes
- Cotton swabs for corrections
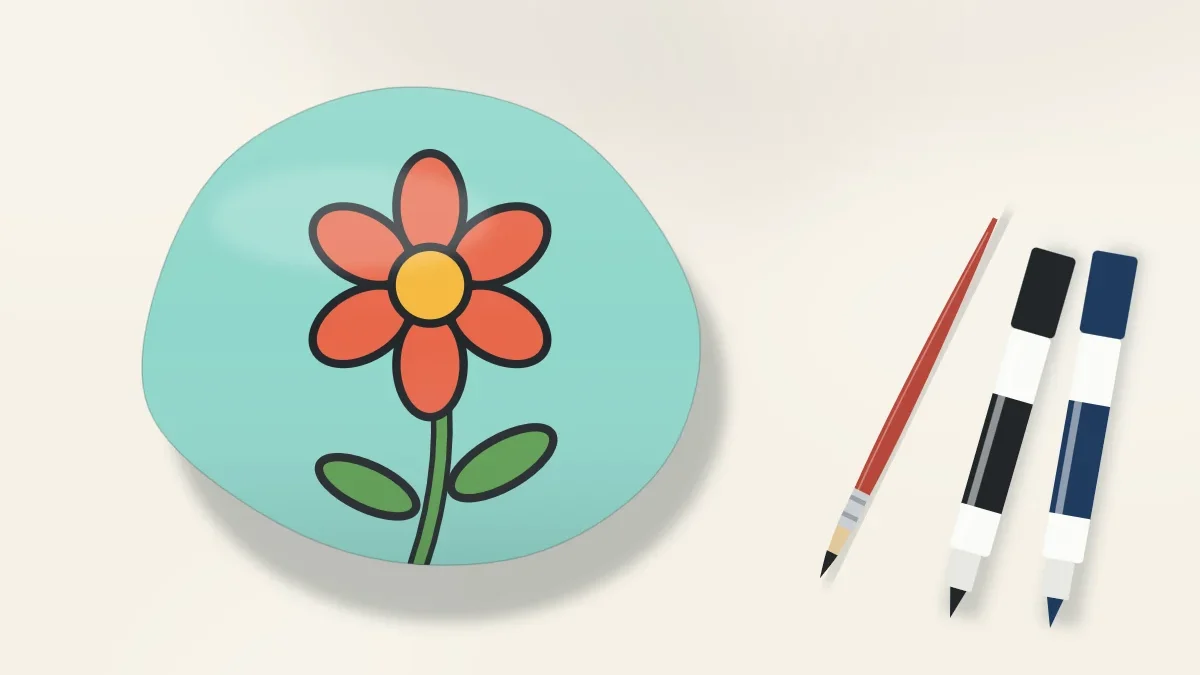
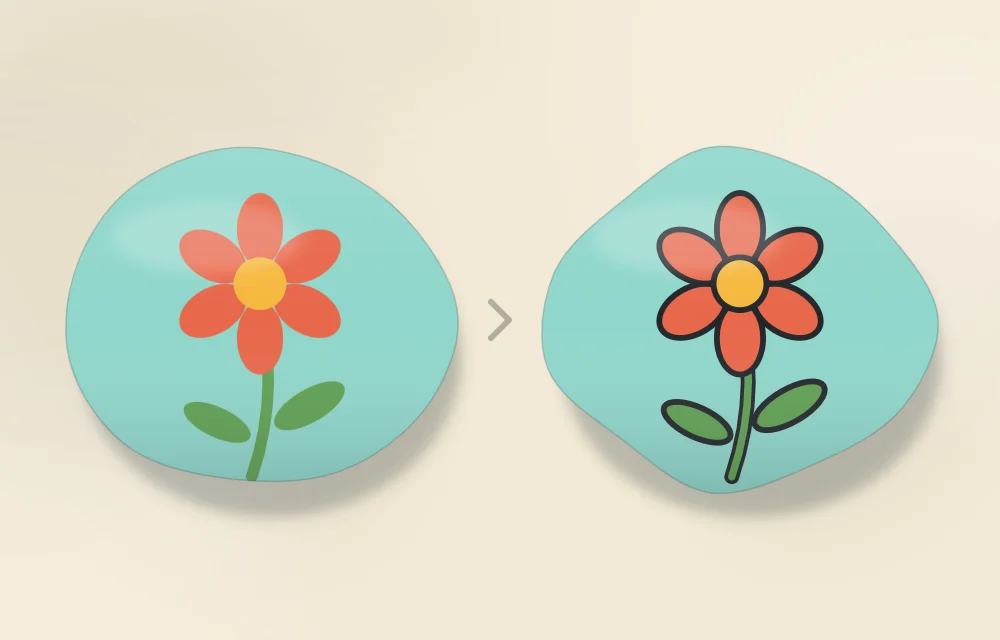
An outline is the last five minutes of work that makes a design look finished. A thin dark line around each shape separates colors that sit close together, hides slightly ragged edges and lets the design read from across the room.
It is also the step where a slip shows most. A steady result comes down to three things: a fully dry stone, a tool that suits you, and a hand that is supported while it moves.
Liner brush or paint pen
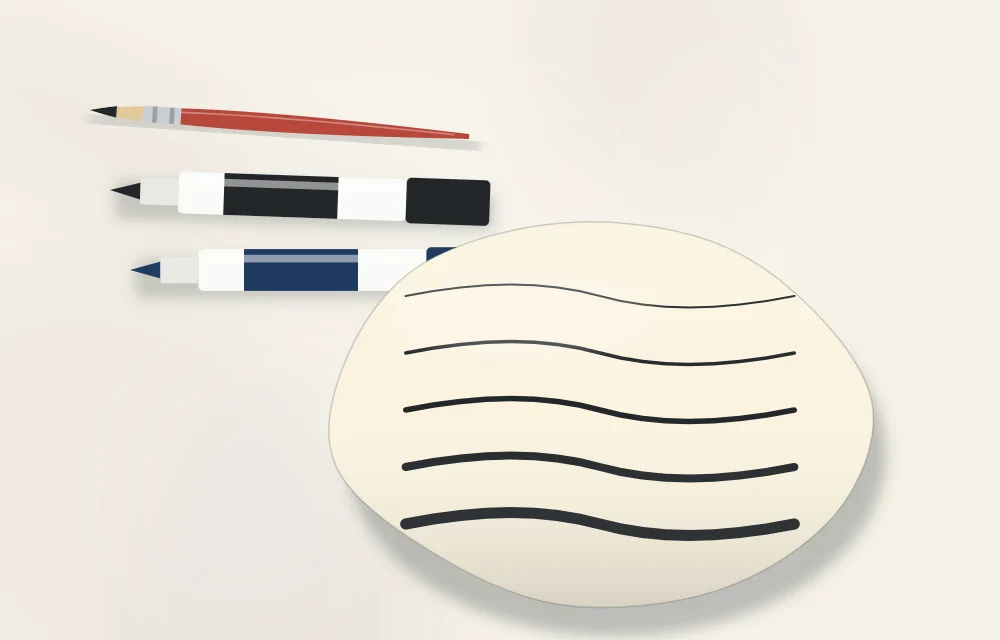
Two tools do nearly all outlining: a liner brush used with thinned acrylic paint, and a fine-tipped acrylic paint pen. Neither is better. They behave differently, and many painters keep both.
| Liner brush | Fine acrylic paint pen | |
|---|---|---|
| Line quality | Can swell from thin to thick with pressure | Even width from start to finish |
| Learning curve | Takes practice to control | Feels like drawing with a marker |
| Colors | Any color you can mix | Limited to the pens you own |
| On rough stone | Bristles reach into small dips | Tip can skip or wear down |
| Things to watch | Paint must be thinned correctly | Can flood if pressed hard; check sealer compatibility |
A liner brush has long, thin bristles that hold more paint than a short detail brush, so it can pull a longer line before running dry. For more on brush shapes, see the guide to brushes for rock painting.
What you need
- A painted stone with the color layers finished and fully dry
- A liner brush, a fine acrylic paint pen, or both
- Black or another dark acrylic craft paint, and a palette or lid for thinning it
- Water, a cloth, scrap paper and a spare stone or the back of the same stone for testing
- Cotton swabs for corrections
How to outline, step by step
- Wait until the paint is completely dry. Paint that feels dry on top can still be soft underneath, and a pen tip or brush will dig into it and drag color into the line. If the stone feels cool to the touch, it is still drying. This is the most common cause of blurred outlines, as shown in the list of common rock painting mistakes.
- Choose the outline color. Black gives the strongest, most graphic look. Dark brown, navy or a deeper shade of the shape’s own color is softer and often suits flowers and leaves. On a dark design, a white outline can work just as well.
- Prepare the tool. For a brush, thin a small puddle of paint with water, a drop at a time, until it flows like ink but still covers in one pass. For a pen, shake and prime it as its instructions describe, on scrap paper, never on the stone, because a freshly primed tip can release a blob.
- Load the brush properly. Roll the bristles through the thinned paint so they are coated along their length, then drag the tip lightly across the palette to bring it to a point. A blob at the tip means too much paint.
- Test the line. Draw a few strokes on scrap paper or a spare stone. Try light pressure for a thin line and slightly more for a thicker one, and settle on the width you want before touching the design.
- Support your hand. Sit with your forearm on the table and rest the side of your hand or your little finger on the work surface or on a dry part of the stone. Hold the stone with your other hand. An unsupported hand shakes; an anchored one draws.
- Outline the largest shapes first. Start with the main shape, for a flower the outer edge of the petals, and leave small interior details for the end. Work from the top of the stone downward, or from left to right if you are right-handed, so your hand never rests on wet line.
- Pull short strokes and turn the stone. Draw each line toward you in a single smooth motion about an inch (2.5 cm) long, then rotate the stone and continue. Start each new stroke slightly inside the end of the last one so the join disappears. Moving a little faster gives a smoother line than creeping along.
- Vary the weight. Use a slightly thicker line around the outside of the whole motif and thinner lines for inner details such as petal divisions or leaf veins. The difference makes the design look deliberate rather than traced.
- Fix slips straight away. Lift a wet mistake with a damp cotton swab. If the line has dried, cover it with the color underneath, let that dry, and redraw.
- Let the outline dry before sealing. Give the lines plenty of time, then seal if you wish, following the manufacturer’s instructions on the label.
Tip
Before the outline, look at the edges of your color shapes. Where an edge is ragged, the outline can sit half on the shape and half on the background to straighten it. Outlining is as much correction as decoration.
How thick should the line be?
Match the line to the stone. On a stone of 2 to 3 in (5 to 8 cm), a line about as thick as a pencil stroke looks balanced. Large stones and bold, simple designs such as a ladybug rock can carry heavier lines. Delicate designs are easily swamped by them. If you are unsure, start thin. A thin line can always be thickened, but a thick one can only be trimmed by repainting the colors beside it.
When an outline is not needed
Not every design benefits. Soft landscapes, blended skies and dot patterns usually look better without one, and outlining every shape on a busy stone can make it heavy. A partial outline is a useful middle path: line only the main motif and leave the background shapes free.
Troubleshooting
- Shaky line: the hand is unsupported or moving too slowly. Anchor it and use shorter, quicker strokes.
- Line breaks or skips: the paint is too thick, the brush is running dry, or the stone is rough. Thin the paint slightly and reload more often.
- Line spreads or feathers: the paint is too watery or the layer underneath is not dry.
- Pen leaves a blob: too much pressure, or the pen was just primed. Dab the tip on scrap paper first and use a light touch.
- Outline smears when sealed: some sealers can soften paint-pen lines. Test the pen and sealer together on a spare stone, apply the first coat lightly without scrubbing back and forth, and check both labels for compatibility.
Watch out
Do not rush from outlining to sealing. Thick pen lines can take longer to dry than brushed paint, and drying times vary by product, so follow the manufacturer’s instructions. The whole process is covered in the guide to drying and sealing painted rocks.
Frequently asked questions
Is a paint pen or a brush better for outlining rocks?
A fine acrylic paint pen is easier for most beginners because it draws an even line and feels like a marker. A liner brush takes more practice but can vary the line from thin to thick and works in any color you mix.
Why do my outlines smear or bleed?
The paint underneath is usually not fully dry, or the outlining paint is too watery. Let the color layers dry completely and thin the paint only until it flows like ink. If the smearing happens during sealing, test the pen and sealer together on a spare stone and check both labels.
Does the outline have to be black?
No. Black gives the boldest look, but dark brown, navy or a deeper shade of the shape's color gives a softer result. On dark designs a white outline can stand out just as well.