How to Clean and Prepare Rocks for Painting
Wash, dry, smooth and base-coat stones so paint grips properly. Includes why drying matters, how to apply a streak-free base coat and fixes for common prep problems.
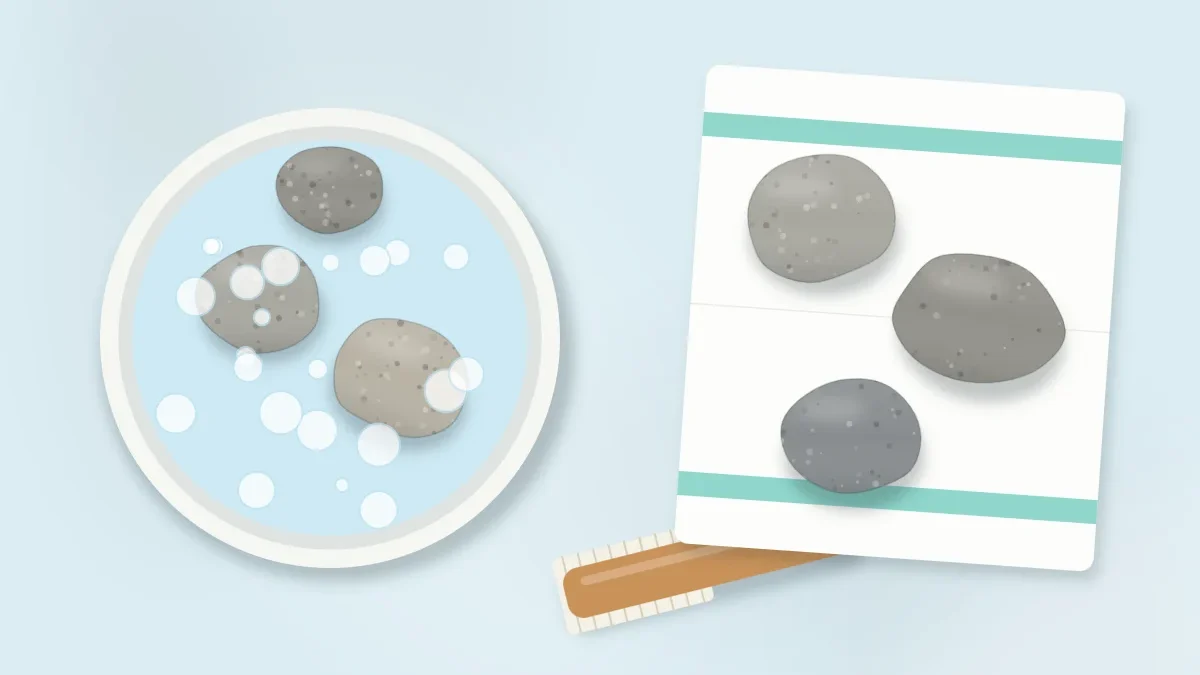
Paint sticks to stone, not to the dust sitting on top of it. A rock that looks clean can still carry fine grit, dried mud in its pores and oils from handling, and each of those creates a weak spot where paint can lift or flake later.
Preparation is simple: wash, dry completely, smooth any rough patches and lay down a base coat. None of it is difficult, but the drying step takes patience, so it helps to prepare a batch of stones a day ahead of painting.
What you need
- A bowl or bucket of warm water with a few drops of dish soap
- A stiff scrub brush or an old toothbrush
- An old towel
- Fine sandpaper, around 220 grit (optional)
- White acrylic craft paint and a flat brush for the base coat
How to wash rocks for painting
- Brush off loose dirt. Knock off dry soil and sand first so the wash water stays cleaner for longer.
- Soak for a few minutes. Put the stones in warm soapy water. Soaking softens dried mud in small pits so it scrubs out more easily.
- Scrub every side. Work the brush over the whole stone, including the underside and any dips. An old toothbrush reaches into small hollows that a larger brush skips.
- Rinse well. Hold each stone under clean running water until no suds remain. Soap film left on the surface can interfere with paint just as dirt does.
- Pat dry and set out. Blot the stones with a towel and spread them out in a single layer with space between them.
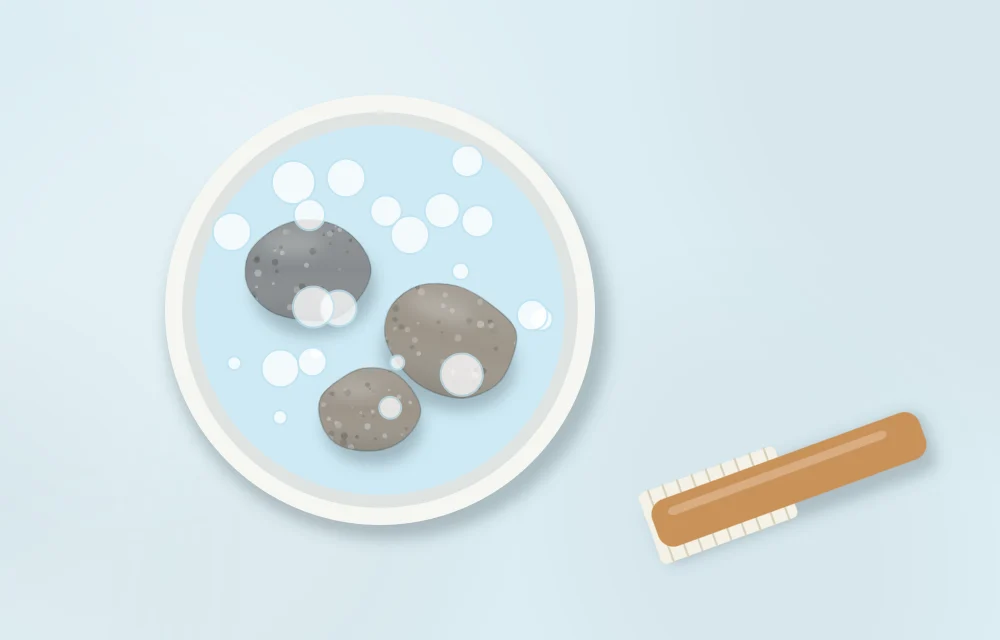
Store-bought stones need washing too. Bagged craft and landscaping stones are often dusty from being tumbled together, and that powder behaves just like dirt under paint.
Drying: the step that gets rushed
A stone can feel dry to the touch while still holding water inside. Stone is slightly porous, and moisture that soaked in during washing takes time to work its way out. If paint goes on too early, that moisture is trapped underneath, which can lead to cloudy patches, bubbling or paint that peels.
Leave washed stones to air dry for several hours in a warm room, turning them once so the undersides dry as well. Leaving them overnight is the safest habit. A stone that still looks darker in patches, or feels noticeably cooler than the others, is still damp.
Watch out
Do not dry stones in an oven or microwave. Stones with moisture trapped inside can crack or break apart when heated. Air drying at room temperature is slower but safe.
Smoothing rough spots
Most smooth stones need no sanding. If a stone has one or two small bumps or a slightly gritty face, a light sanding helps:
- Use fine sandpaper, around 220 grit, and rub in small circles over the rough area only.
- Sand outdoors or over a damp cloth to keep dust down, and avoid breathing the dust. Children should leave this step to an adult.
- Wipe the stone with a damp cloth afterward and let it dry again before painting.
Sanding will not rescue a deeply pitted or crumbly stone. Those are better swapped for a smoother one, as covered in the guide to choosing rocks for painting.
Applying a base coat
A base coat is a plain layer of paint that goes on before the design. It does three jobs: it fills fine texture so the surface is more even, it gives later layers something consistent to grip, and it stops the stone’s natural color from dulling bright paint.
- Load a flat brush with white paint. Thin the paint slightly with a drop of water if it drags. It should spread without leaving ridges.
- Paint the top and sides in one direction. Use long, overlapping strokes and stop about halfway down the sides, where the stone meets the table.
- Let it dry, then add a second thin coat. Brush the second coat at a right angle to the first. Crossing the strokes hides streaks.
- Flip and finish the underside. Once the top is dry to the touch, turn the stone over and paint the bottom, or leave it bare if the piece will sit on a shelf.
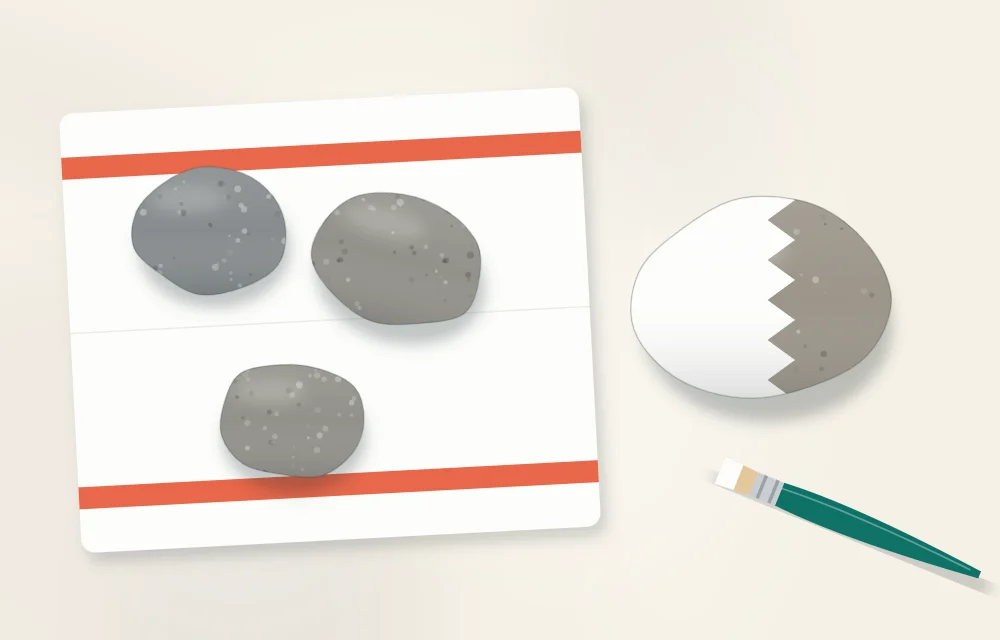
White is the most useful base because every color looks brighter over it. A colored base coat works too when it doubles as the background of the design, such as red for a ladybug or dark blue for dot painting on rocks. Some painters use a dedicated primer in place of white paint; if you do, follow the manufacturer’s instructions on the label for drying time and compatibility with acrylic paint.
When a base coat can be skipped
If the bare stone is meant to show as part of the design, for example white line work on a naturally dark, smooth stone, the base coat can be left off. The stone still needs to be washed and fully dry. How base coats fit with later layers is explained in layering paint on rocks.
Preparation problems and fixes
| Problem | Likely cause | What to do |
|---|---|---|
| Base coat beads up or pulls away | Soap film, oil or a polished coating on the stone | Wash and rinse again; sand lightly if the stone is glossy |
| Base coat looks streaky | Paint too thick, or only one coat | Thin slightly and add a second coat across the first |
| Cloudy or bubbled patches | Stone was still damp inside | Let it dry for a day, sand the patch smooth and repaint |
| Gritty bumps in the paint | Dust or grit left on the stone or brush | Sand lightly once dry, wipe clean and recoat |
| Stone sticks to the paper | Painted too far down the sides while it sat flat | Stop halfway down, or raise the stone on a bottle cap |
Tip
Wash and base-coat a dozen stones in one go and keep them in a box. With prepared stones on hand, a painting session can start with the design instead of with a bucket of water.
Next steps
With clean, dry, base-coated stones ready, the next thing to sort out is the kit. The guide to rock painting supplies covers paints, pens and tools, and once a design is finished, how to dry and seal painted rocks explains the last stage.
Frequently asked questions
Do I really need to wash rocks before painting them?
Yes. Dust, soil and oils from handling sit between the paint and the stone and create weak spots where paint can lift. Store-bought stones need washing too, because they are often dusty from the bag.
How long should rocks dry before painting?
Several hours in a warm room is a minimum, and overnight is the safest habit. A stone can feel dry on the outside while still holding moisture inside, which can cause cloudy or peeling paint.
Do I need to prime rocks before painting?
A base coat of white acrylic craft paint is usually enough and makes colors look brighter and more even. If you use a dedicated primer instead, follow the manufacturer's instructions on the label.