Decorative Painted Stones: Ways to Display Them at Home
Bowls, trays, shelves, plant pots and desks: practical ways to display decorative painted stones at home, and how a shared palette makes a set look planned.

A single painted stone on a table can look like something left behind. Five stones in the same colors, gathered in a bowl or lined up on a shelf, look like a decision. Display is mostly a matter of grouping, repeating colors and giving the stones a container or an edge to belong to.
Start with a shared palette
Stones painted at different times in whatever colors were open rarely sit well together. Before painting a set for display, pick three or four colors and use them on every stone. Teal, white and a metallic gold is one calm combination; navy, cream and coral is another. The designs can differ completely, with dots on one stone, leaves on another and stripes on a third, and the group will still read as a set because the colors repeat.
It helps to borrow one color from the room, such as a cushion, a rug or a vase, so the stones look as if they belong there. The guide to color planning for rock painting explains how to build a palette from a color wheel.
Tip
Paint one or two stones in a plain solid color from your palette. Plain stones give the eye a rest between patterned ones and make the whole group look calmer.
Ways to display painted stones
In a bowl
A shallow wooden or ceramic bowl is the simplest display. Choose a bowl wide enough that the stones lie in one or two layers, so the designs stay visible rather than buried. Put the largest stones in first and tuck smaller ones into the gaps, turning each so its painted face is up. Around seven to twelve stones of 2 to 3 in (5 to 8 cm) fill a medium bowl comfortably.
Keep the stone bowl separate from anything edible. Painted and sealed stones are decorative and are not meant for contact with food, so they do not belong in a fruit bowl or on a serving dish.
On a tray
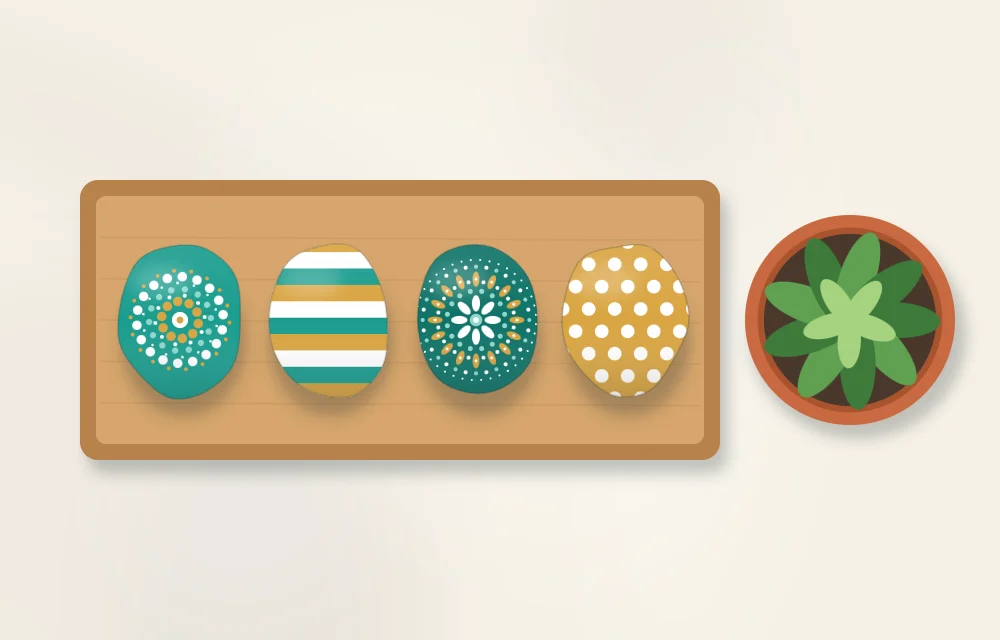
A tray turns loose objects into an arrangement. Lay the stones in a single row along a narrow wooden tray, or set them in a loose cluster at one end and balance them with a small potted plant or a candle holder at the other. Leave some of the tray empty; a tray packed edge to edge looks cluttered.
Along a shelf or windowsill
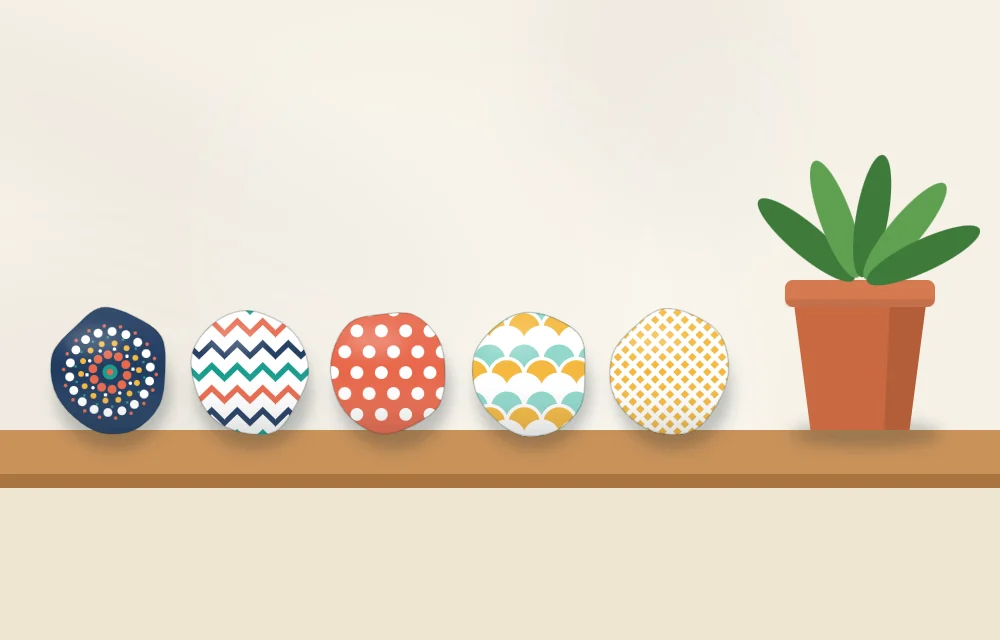
For a shelf, choose stones that sit flat without rocking and arrange them in a row with small, even gaps. An odd number, three or five, usually looks more natural than an even one. Order them by size, either from small to large or with the largest in the middle, and finish the row with something taller, such as a small plant, so the line has an end point.
A bright windowsill shows colors well, though strong direct sun can fade paint over time. How much depends on the paint and sealer, so a spot with indirect light is the cautious choice for stones you want to keep looking fresh.
With houseplants
A painted stone resting on the soil of a potted plant adds a spot of color at the base of the leaves. Place it on the surface and expect some wear: soil that is watered regularly keeps the underside of the stone damp, which is hard on any painted finish, and the stone may need touching up. Stones made to stand upright in a pot of gravel avoid the problem altogether, as in the cactus rock garden in a pot.
On a desk or side table
One large stone can do a job. A palm-sized stone of about 4 in (10 cm) holds down loose papers, and small felt pads on the underside keep it from scratching the surface. The tutorial on making a painted rock paperweight covers the felt pads and choosing a stone with enough weight.
In a glass jar or vase
A clear jar suits small stones painted all the way around, since they will be seen from every side. Lower the stones in gently one at a time. Dropping them chips the paint and can crack the glass. Keep the jar dry: painted stones should not sit in water, and they are not suitable for aquariums or flower vases filled with water.
Matching the display to the stones
| Display | Best stone size | Good number of stones | Keep in mind |
|---|---|---|---|
| Shallow bowl | 2 to 3 in (5 to 8 cm) | 7 to 12 | Keep designs face up, away from food |
| Tray | 2 to 3 in (5 to 8 cm) | 3 to 7 | Leave part of the tray empty |
| Shelf row | 2 to 4 in (5 to 10 cm), flat-bottomed | 3 or 5 | Even gaps, a taller object at one end |
| Plant pot | 1.5 to 3 in (4 to 8 cm) | 1 to 3 | Damp soil wears the finish |
| Desk | About 4 in (10 cm) | 1 | Add felt pads underneath |
| Glass jar | 1 to 2 in (2.5 to 5 cm) | Enough to fill it | Painted on all sides, kept dry |
Prepare stones for display
Stones that will be handled, stacked or slid along a shelf benefit from a few finishing steps:
- Paint the edges. In a bowl or jar the sides of each stone show, so carry the base color over the edge instead of stopping at the top face.
- Let everything dry fully. Paint that feels dry on the surface can still be soft underneath, and soft paint sticks to the next stone in the pile.
- Seal the surface. A clear brush-on or spray sealer helps protect the design from scuffs where stones touch. Choose matte or gloss to suit the room, and follow the manufacturer’s instructions on the label for coats, drying and curing times and ventilation. The steps are in the guide to drying and sealing painted rocks.
- Protect furniture. Stick small felt pads under any stone that sits directly on wood, glass or a painted shelf.
Arranging tips that work anywhere
- Group stones instead of scattering them. Three stones together have more presence than three stones in three rooms.
- Mix sizes within a group, with one clearly larger stone as the anchor.
- Repeat a pattern at least twice. Two dotted stones in a set look planned; one looks accidental. Simple repeating patterns such as stripes and scallops are easy to match across several stones.
- Change the set with the season by swapping in a few stones in different colors and storing the rest wrapped in soft cloth or paper.
Care and safety
Dust displayed stones with a soft dry cloth or a clean, dry brush. Avoid soaking or scrubbing them, and check the sealer label before using any cleaning product on the finish. If a stone chips, touch up the spot with the original color, let it dry and reseal that area.
Watch out
Painted stones are decorations, not toys. Small stones are a choking hazard and any stone can be thrown, so keep displays out of reach of small children and pets, and away from shelf edges where a heavy stone could fall.
Frequently asked questions
How many painted stones do I need for a display?
Three or five stones are enough for a shelf or a tray, and seven to twelve fill a medium bowl. Odd numbers and a mix of sizes usually look more natural than a matched even set.
Do painted stones for indoor display need sealing?
Sealing is optional indoors, but a clear sealer helps protect the design from scuffs when stones touch each other or are handled. Follow the manufacturer's instructions on the label for coats and drying times.
Can I put painted stones in a vase with water or in an aquarium?
No. Painted and sealed stones are decorative and are not meant to sit in water, so keep them out of aquariums and water-filled vases. A dry glass jar is a good alternative.