Painted Rock Garden Markers for Herbs and Vegetables
Paint picture markers for the garden: a carrot, a tomato, a pea pod and an herb sprig on smooth stones, with honest notes on sealing and upkeep outdoors.

Tutorial at a glance
Materials
- Acrylic craft paint: white or cream, orange, red, leaf green, lighter green, dark brown or black
- Flat brush for base coats
- Small round brush, about size 4
- Liner brush or fine acrylic paint pen
- Soft pencil
- Jar of water and a cloth
- Clear brush-on or spray sealer labeled for outdoor use
Seedlings look almost identical in their first weeks, and paper seed packets on sticks turn to pulp after a few waterings. A painted stone at the end of each row tells you what is planted there at a glance. The simplest version needs no lettering at all: a carrot marks the carrots, a tomato marks the tomatoes.
Picture markers suit beginners because each vegetable is built from one or two basic shapes. This tutorial covers four of them, a carrot, a tomato, a pea pod and an herb sprig, with lettering as an optional extra.
What you need
- Four smooth, fairly flat stones, about 3 to 4 in (8 to 10 cm) long, large enough to see from standing height
- Acrylic craft paint: white or cream, orange, red, two greens (a leaf green and a lighter green) and a dark brown or black
- A flat brush for base coats, a small round brush for shapes and a liner brush or fine acrylic paint pen for details
- A soft pencil, a jar of water and a cloth
- A clear brush-on or spray sealer labeled by its manufacturer for outdoor use
Rules about collecting stones differ by place, and collecting is not allowed in many parks and protected areas. Check local rules and get permission, or simply buy a bag of craft or landscaping stones. The guide on choosing rocks for painting explains which surfaces take paint best.
Plan the pictures first
A marker is read from several feet away, so the picture has to be bold. Aim for one large shape that fills most of the stone, strong contrast with the background, and very little fine detail. A pale base coat such as white or cream makes orange, red and green stand out against dark soil.
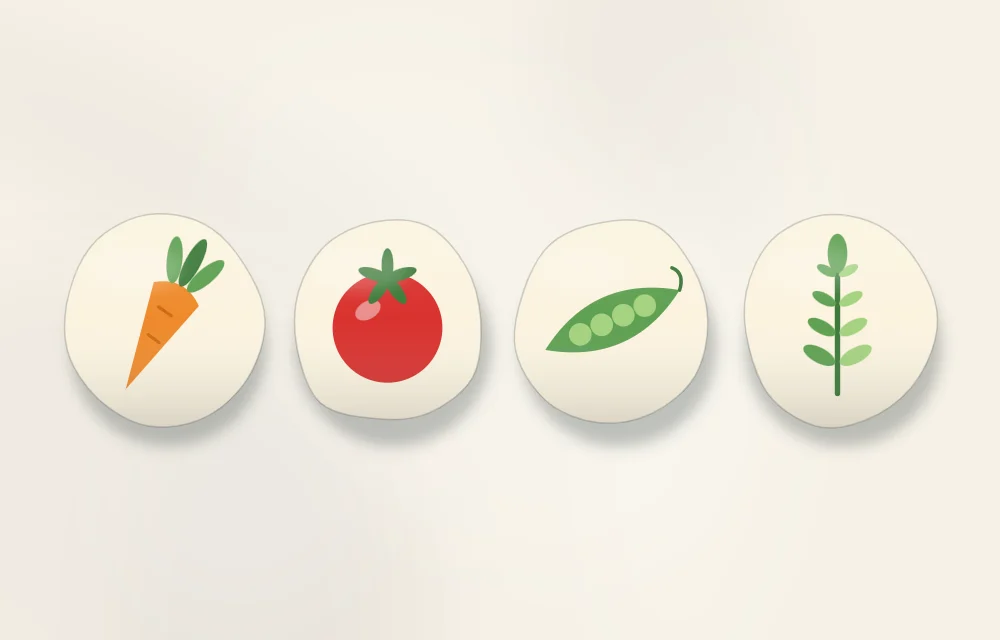
| Marker | Main shape | Colors | Detail that makes it readable |
|---|---|---|---|
| Carrot | Long narrow triangle with a rounded top | Orange, leaf green | Feathery green top and a few short curved lines across the root |
| Tomato | Slightly flattened circle | Red, leaf green | Star-shaped green cap with five points |
| Pea pod | Long curved crescent | Leaf green, lighter green | A row of round peas along the middle |
| Herb sprig | Thin curved stem | Two greens | Pairs of small oval leaves up the stem |
Step by step
- Clean and dry the stones. Scrub them with soapy water, rinse and let them dry all the way through. Paint grips poorly on dust or damp stone. The full method is in the guide to cleaning and preparing rocks.
- Paint the base coat. Cover the top and sides of each stone with white or cream using the flat brush. Let it dry and add a second thin coat if gray shows through. Leave the underside for later so you have a dry place to hold.
- Sketch the main shape. With light pencil pressure, draw the outline of each vegetable so it fills about two thirds of the stone. Turn the stone so the longest shapes, the carrot and the pea pod, run along its length.
- Block in the main color. Fill the carrot with orange, the tomato with red and the pea pod with leaf green, using the round brush. Paint the herb stem as one thin curved green line. Work from the middle of each shape out to the pencil line so the edge stays tidy. Let the paint dry and add a second coat where it looks streaky.
- Add the green parts. Paint the carrot top as three or four short feathery strokes fanning out from the wide end. Give the tomato a small five-pointed cap at the top. For the herb sprig, press the round brush down and lift it away to make each oval leaf, working in pairs up the stem.
- Add the second tone. Once the first colors are dry, paint a row of lighter green circles along the middle of the pea pod. Add a few lighter green leaves to the herb sprig and a small pale highlight on the upper side of the tomato.
- Add the dark details. With the liner brush or a fine paint pen, draw a few short curved lines across the carrot and a thin line down the pea pod. Keep outlines optional and thin. If you want a full outline, the tutorial on outlining painted rocks shows how to keep it steady.
- Paint the back. When the top is dry, turn each stone over and base coat the underside. Covering the whole stone gives the sealer an even surface to sit on.
- Seal the stones. Apply a clear sealer to the top and sides, let it dry, then turn the stones and seal the underside. Follow the manufacturer’s instructions on the label for the number of coats, drying and curing times, ventilation and outdoor use. Spray products are a job for an adult, outdoors or in a well-ventilated space.
- Set the markers in place. Wait until the sealer has cured as the label describes, then put one stone at the end of each row, on top of the soil.
Tip
If a paint pen is part of your design, test the sealer over a pen line on a spare stone first. Some sealers can make pen lines smear, and the pen or sealer label may say which products work together.
Optional: add a name
Pictures work on their own for crops that look distinct, but lettering helps where plants are easy to confuse, such as two kinds of herbs or several varieties of tomato. Keep it short and large:
- Write the word in pencil first and check that it fits before painting.
- Use plain capital letters with a fine paint pen or liner brush in a dark color.
- Place the word under or beside the picture, or on a second stone of its own.
- Space the letters from the middle outward: write the center letter first, then work toward each end.
Placing markers in the garden
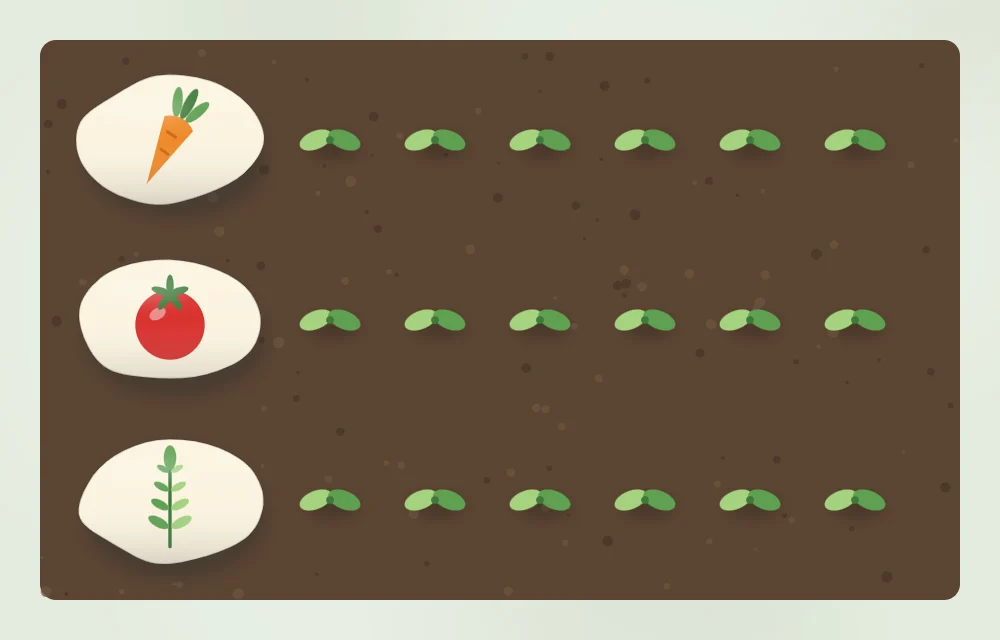
Put each stone at the same end of every row, so you always know where to look. Rest it on the soil surface rather than burying part of it; a stone that sits in wet soil stays damp underneath, and constant moisture is hard on any painted finish. A spot that drains well and is not hit directly by the hose or sprinkler is kinder to the paint.
Keep the stones on the soil beside the plants, not touching leaves or produce you plan to eat. Painted and sealed stones are decorative objects and are not meant for contact with food.
Watch out
No paint or sealer makes a stone immune to the weather. Sun, rain, frost and soil can cause painted rocks kept outdoors to fade, chip or wear, and how quickly that happens depends on the products, the stone and the conditions. Expect to touch markers up from time to time.
Looking after the markers
- Check them now and then. Look for dull patches, chips or lifting edges, especially on the underside.
- Touch up when needed. Wash and dry the stone, repaint the worn area, let it dry and reseal according to the sealer label.
- Bring them in over winter. Storing the stones indoors when the bed is empty spares them months of weather.
More on finishes, including the difference between brush-on and spray products, is in the guide to drying and sealing painted rocks.
Frequently asked questions
Do painted rock garden markers last outside?
It depends on the paint, the sealer, the stone and the weather, so there is no fixed answer. Painted rocks kept outdoors can fade, chip or wear, and most markers need touching up from time to time. Follow the sealer manufacturer's instructions for outdoor use.
Do I have to write plant names on the markers?
No. A clear picture of the vegetable or herb is enough for most rows and is easier for beginners than lettering. Add a short name in plain capital letters only where plants are easy to confuse.
What size rock works best for a garden marker?
A smooth, fairly flat stone about 3 to 4 inches (8 to 10 cm) long is easy to see from standing height and gives enough room for one bold picture. Smaller stones tend to get hidden once the plants grow.