How to Paint Strawberry Rocks
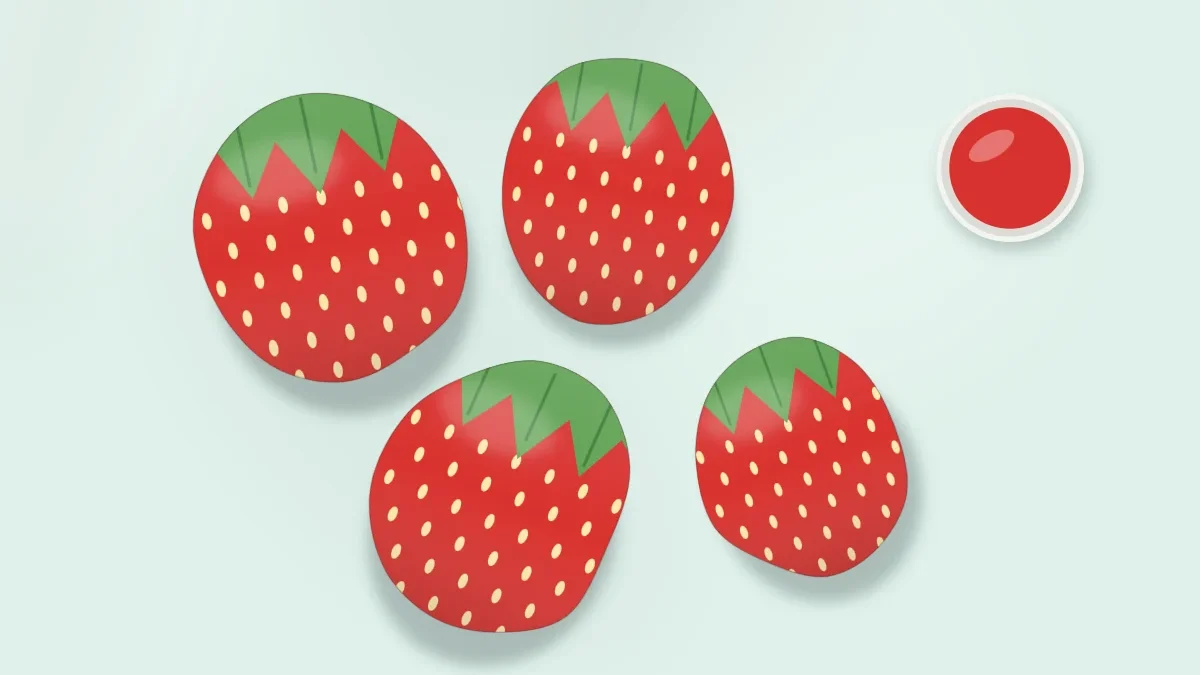
Paint a batch of strawberry rocks in three layers: a red base coat, a green leafy top and small pale seeds. Great for odd-shaped stones.
Tutorial at a glance
Materials
- Acrylic craft paint: red, leaf green, white, pale yellow
- Flat brush, about 1/2 in (12 mm) wide
- Round brush, size 2 or 4
- Toothpick, fine dotting tool or pale acrylic paint pen
- Jar of water and paper towel
- Wax paper or a rack for drying
- Clear sealer, brush-on or spray (optional)
Strawberry rocks are a good project for a pile of awkward stones. Lumpy, lopsided, pointed at one end: every shape that is hard to use for a ladybug or a pattern looks right as a berry, because real strawberries are never perfectly even either.
Each stone gets three layers in a fixed order: a red base coat, a green leafy top, and small pale seeds. Because the steps are so short, it makes sense to paint a batch rather than a single stone.
Picking strawberry-shaped stones
Look for stones 1 to 2 in (2.5 to 5 cm) long that are wider at one end and narrower at the other, like a rounded triangle or a fat teardrop. Plump stones with some thickness are more convincing than flat ones. A mix of sizes looks natural in a bowl.
Bagged craft or landscaping stones usually contain plenty of suitable shapes. If you want to gather stones outdoors, rules differ by place, so check local rules and get permission first; collecting is not allowed in many parks and protected areas.
Wash the stones with soapy water, scrub off any grit and let them dry completely. Paint does not grip a damp or dusty surface well. There is a full walk-through in how to clean and prepare rocks for painting.
Materials
- Six to eight small stones, clean and dry
- Acrylic craft paint in red, leaf green, white and pale yellow (or mix white with a touch of yellow)
- A flat brush about 1/2 in (12 mm) wide for the red
- A round brush, size 2 or 4, for the leaves
- A toothpick or fine dotting tool, or a pale acrylic paint pen, for the seeds
- A jar of water and a paper towel
- Something to rest wet stones on, such as a sheet of wax paper or an old baking rack
- Clear sealer, brush-on or spray (optional)
How to paint the strawberries
- Prime dark stones with white. Red craft paint is semi-transparent and can look brick-colored over dark gray. Brush one thin coat of white over each stone and let it dry. On pale stones you can skip this step.
- Paint the red base coat on the top side. Hold a stone by its edges and paint the upper face and sides with the flat brush. Set it down on wax paper and move on to the next. Let them all dry, then add a second thin coat.
- Turn the stones and paint the underside. A strawberry is seen from all sides, especially in a bowl, so flip each stone once the top is dry and paint the back red as well. Overlap the edges slightly so no bare stone shows at the seam.
- Add the green leafy top. At the wide end, paint a small green cap that covers the very top of the stone. Then pull five or six pointed leaves down from it onto the red: press the round brush at the cap, drag it about 1/2 in (12 mm) toward the tip of the berry and lift as you go, so each leaf ends in a point. Vary the lengths a little and let the leaves splay out like a star.
- Carry the leaves around the back. Turn the stone and add a few more leaves on the other side so the cap looks complete from every angle. Let the green dry.
- Dot on the seeds. Dip the tip of a toothpick in pale yellow paint and touch it to the red. Make short teardrop marks rather than round dots by touching down and dragging very slightly toward the tip. Arrange them in staggered rows, like a checkerboard with every other square missing, and leave a small gap below the leaves.
- Dry and seal. Leave the stones until the seeds, which are the thickest spots of paint, are dry all the way through. Apply clear sealer if you want a glossy, fresh-fruit look, following the manufacturer’s instructions.

Tip
Stagger the seeds. Seeds lined up in straight columns look like a grid; seeds offset from row to row look like a berry. Reload the toothpick every two or three seeds so they stay a similar size.
Small touches that add realism
The basic three layers already read clearly as a strawberry. If you want to go a step further, try one or two of these:
- Shade the red. While the second coat is still wet, blend a little darker red, or red with a tiny amount of green mixed in, near the tip and edges. This makes the stone look rounder.
- Add a highlight. Once everything is dry, paint a short, soft white stroke on one shoulder of the berry, as if light were catching it.
- Use two greens. Paint the leaves in mid green, then add a thin stripe of lighter green down the center of each one. The same idea is used in how to paint leaves on rocks.
- Paint a seed shadow. Put a tiny dark red dot under each seed before adding the pale seed on top, slightly offset, for a dimpled look.
- Try other berries. A pale pink or cream base with red seeds makes a not-quite-ripe berry, which adds variety to a bowl.
Building a design in this order, from broad color to small details, is covered further in layering paint on rocks.
Troubleshooting
| Problem | Why it happens | How to fix it |
|---|---|---|
| Red is streaky | One thick coat, or dark stone showing through | Add another thin coat; prime with white on the next batch. |
| Paint peels off the underside | Stone was turned over before the top was dry | Let it dry, sand the rough patch lightly with fine sandpaper and repaint. |
| Leaves are blunt instead of pointed | Brush not lifted at the end of the stroke | Use less pressure and lift gradually; sharpen the tips with a toothpick while wet. |
| Seeds are large blobs | Too much paint on the toothpick | Wipe the tip, pick up less paint and practice on paper first. |
| Stones stick to the surface | Wet paint pooled at the base | Dry them on wax paper or a rack and move them after a few minutes. |
Sealing and display ideas
A gloss sealer suits strawberries because it gives them a juicy shine, but matte works too. Use a product suitable for acrylic paint, check the label for the number of coats, drying time and ventilation, and let an adult apply spray sealers. See how to dry and seal painted rocks for the method.
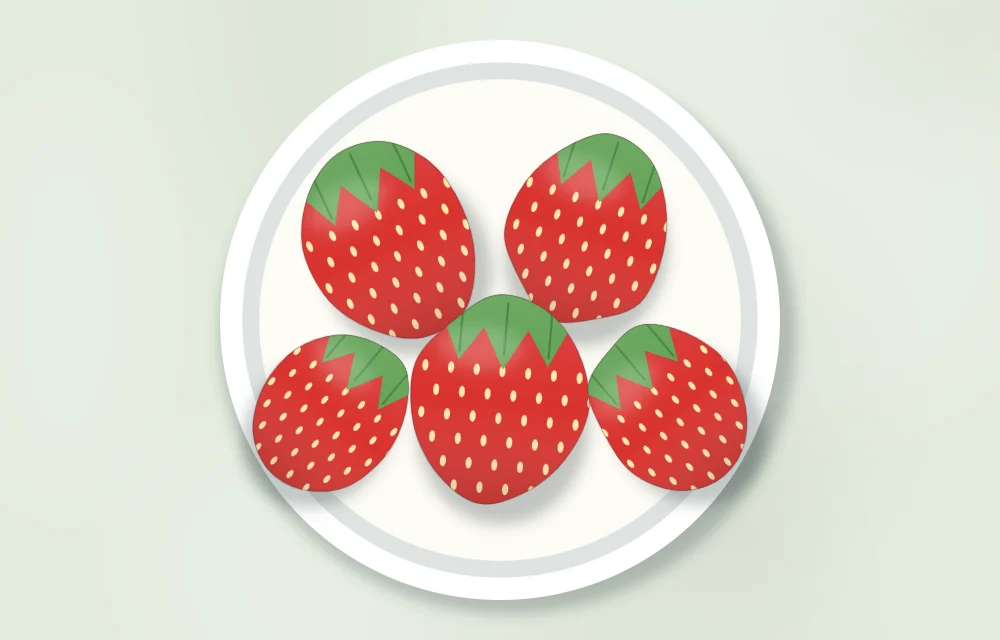
Ways to use a finished batch:
- Pile them in a shallow bowl or a small basket as a table decoration.
- Tuck a few around the base of a potted plant or among real strawberry plants as bed markers. Painted rocks left outside can fade, chip or wear, so they may need touching up.
- Box three or four in tissue paper as a small handmade present; there are more suggestions in painted rock gift ideas.
Watch out
Strawberry stones can look good enough to eat. Keep them away from small children and from anywhere real food is served, since they are a choking hazard and are not meant for food contact. Supervise children while they paint and seal.
Frequently asked questions
What shape of rock works best for a strawberry?
Choose a plump stone that is wider at one end and narrower at the other, like a rounded triangle or teardrop. Uneven and slightly lumpy stones are fine, since real strawberries are irregular too.
Should I paint the bottom of a strawberry rock?
Yes, if the stones will sit in a bowl or be picked up, because the underside will show. Paint the top and sides first, let them dry, then turn the stone over and paint the back.
What is the easiest way to paint strawberry seeds?
Dip the tip of a toothpick in pale yellow paint and touch it to the dry red surface, dragging very slightly to make a tiny teardrop. Offset the seeds from row to row and reload the toothpick every two or three seeds.