Rock Painting for Beginners: How to Start
A plain-language starting point for rock painting: the small kit you need, the six-step process from bare stone to sealed design, and first projects that forgive mistakes.

Rock painting needs very little to begin: a smooth stone, a few colors of acrylic craft paint, two brushes and a table covered with scrap paper. The first stone rarely looks the way it was pictured, and that is normal. What matters at the start is learning the order of the work, because most beginner problems come from skipping a step rather than from a lack of drawing skill.
This guide follows that order from bare stone to finished piece and points to the more detailed guides for each stage.
What you need for a first session
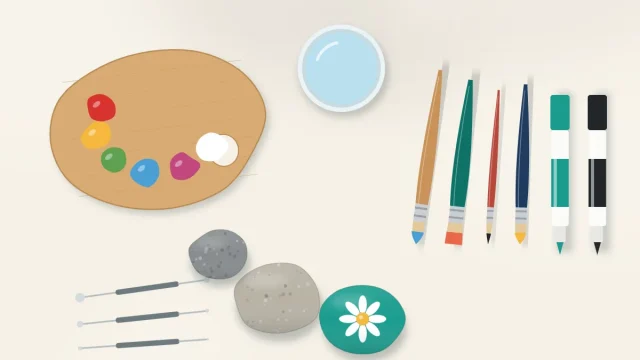
Keep the first kit small. A short list is easier to set up, easier to clean up, and it shows quickly which tools are worth adding later.
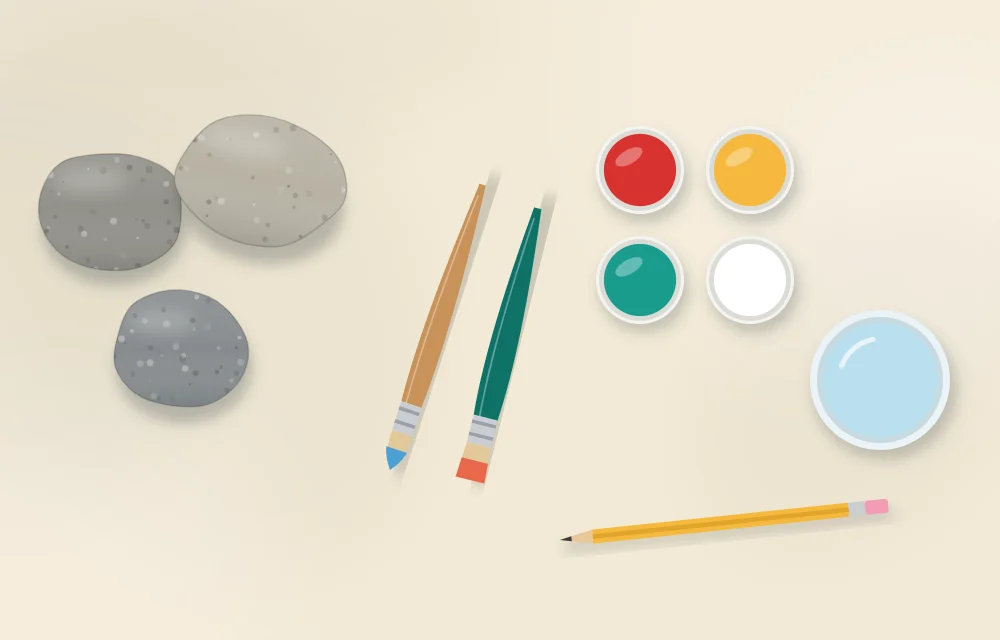
- Two or three smooth stones, roughly 2 to 3 in (5 to 8 cm) across. Extra stones take the pressure off the first one.
- Acrylic craft paint in white, black and two or three bright colors.
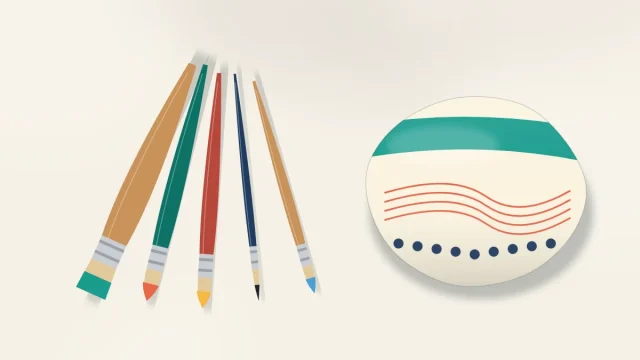
- Two brushes: a flat brush about 1/2 in (12 mm) wide for covering the stone, and a small round brush for shapes and details.
- A jar of water and a cloth or paper towel for rinsing and blotting.
- A pencil for sketching the design lightly on the base coat.
- Something to protect the table, such as scrap paper or an old placemat.
The full list, including the items that can wait, is in the guide to rock painting supplies. Paints and sealers differ from one product to the next, so read the label for drying times, cleanup and whether the product is suitable for children before opening it.
The basic process, step by step
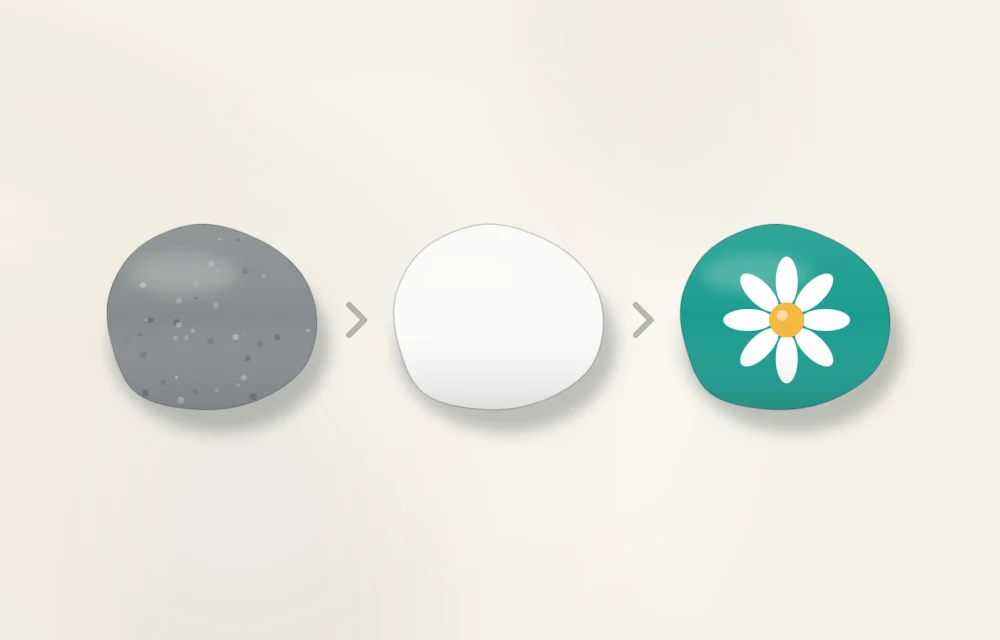
Almost every painted rock, from a plain polka-dot stone to a detailed landscape, is built in the same sequence.
- Choose a smooth stone. Run a thumb across the surface. If it feels like fine sandpaper or smoother, it will take paint evenly. Deep pits and sharp ridges break up brush strokes. There is more on shape and size in how to choose rocks for painting.
- Wash and dry it. Dust, soil and skin oils stop paint from gripping. Scrub the stone in soapy water, rinse it and let it dry all the way through before painting.
- Paint a base coat. One or two thin coats of white or a light color give the design an even surface and make later colors look brighter. Let each coat dry before adding the next.
- Sketch the design lightly. Use a pencil with almost no pressure. Heavy graphite can show through pale paint and smear into wet color.
- Block in the large shapes, then add details. Work from big to small and from background to foreground. Let each layer dry before painting on top of it, or the colors will mix into mud.
- Let it dry, then seal it. A clear sealer protects the painted surface from scuffs. Follow the instructions on the label for how long the paint needs to dry first and how many coats to apply.
Getting the paint consistency right
Craft paint straight from the bottle should flow off the brush like heavy cream. If it drags and leaves ridges, dip just the tip of the brush in water and mix that into the paint on the palette. If it runs toward the edge of the stone or looks see-through, it has too much water; add more paint.
Two thin coats nearly always look better than one thick coat. Thick paint dries slowly, shows every brush mark and can crack as it dries. Thin coats level out and dry fast enough that the second one can usually go on within the same session.
How to hold the stone
A stone rolls and tips, which is part of what makes lines wobble. A few habits help:
- Rest the stone flat on the table and paint only the top and sides first. Paint the underside in a separate session once the top is dry.
- Rest the heel of the painting hand on the table, not in the air. A supported hand draws steadier lines.
- Turn the stone, not the wrist. For curves and outlines, rotate the stone with the free hand so the brush always pulls in a comfortable direction.
- For small stones, press a ball of reusable putty or a loop of masking tape underneath to stop them sliding.
Pick a first design that forgives mistakes
Good first designs are built from dots, stripes and simple rounded shapes. They do not depend on perfect symmetry, and a slip can be painted over once it dries.
| First design | Why it works for beginners | Main skill practiced |
|---|---|---|
| Polka dots on a solid color | No drawing needed; uneven spacing still looks cheerful | Base coats and paint consistency |
| Ladybug | The stone’s round shape does most of the work | Blocking in two colors and adding dots |
| Simple daisy | Petals are single brush strokes around a center dot | Controlling a round brush |
| Bold stripes | Lines can follow the curve of the stone | Steady strokes and turning the stone |
For a guided first project, the ladybug rock tutorial uses only three colors, and the list of easy rock painting ideas has more designs at the same level.
Tip
Paint a base coat on three stones at once. While they dry, there is time to plan the designs, and a spare stone is ready if the first attempt goes wrong.
What to expect from the first few stones
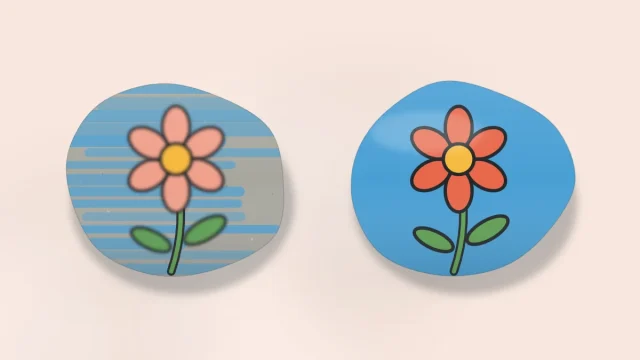
Streaky base coats, shaky outlines and colors that look dull over dark stone are the three complaints nearly every beginner has. Each has a plain cause: paint that is too thick or too thin, an unsupported hand, or no light underlayer. None of them means the stone is ruined. Acrylic paint covers itself well, so let the area dry, paint over it with the background color and try again.
It also helps to keep the first stones. Lined up after a few sessions, they show clearly which habits have improved and which still need attention.
Watch out
Painted rocks are decorations, not toys. Small stones are a choking and throwing hazard for young children, so supervise craft sessions and keep finished stones out of reach of little ones.
Where to go next
Once the basic sequence feels familiar, work through the foundation guides in order: choosing stones, cleaning and preparing them, building a supply kit and learning what each brush does. After that, the guide to common rock painting mistakes is a useful checklist to keep nearby while painting.
Frequently asked questions
Do I need to be good at drawing to paint rocks?
No. Many beginner designs are built from dots, stripes and simple rounded shapes that need no drawing at all. Following the steps in order and using thin coats matters more than drawing skill.
What kind of paint do beginners use on rocks?
Acrylic craft paint is the usual starting point because it covers stone well and comes in small, inexpensive bottles. Check the label for drying times, cleanup and whether the product is suitable for children.
How long does it take to paint a rock?
A simple design often takes about 20 to 40 minutes of painting, plus drying time between layers. Drying and sealing times vary by product, so follow the manufacturer's instructions on the label.