How to Paint Flowers on Rocks: Daisies, Tulips and Simple Blossoms
Learn one press-and-lift petal stroke, then use it to paint a daisy, a tulip and a five-petal blossom on smooth stones.
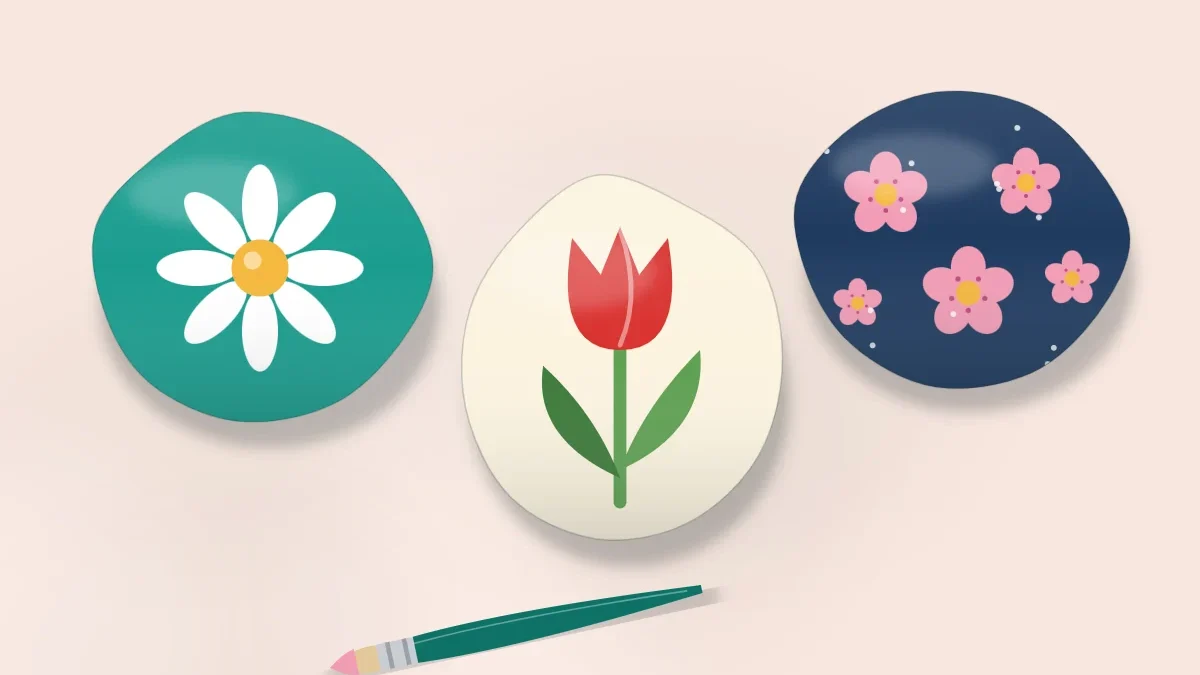
Tutorial at a glance
Materials
- Acrylic craft paint: white, yellow, red, pink, two greens
- Background colors: teal, cream and navy
- Flat brush, about 1/2 in (12 mm)
- Round brush, size 4
- Small detail brush
- Dotting tool or the handle end of a brush
- Pencil, jar of water and paper towel
- Scrap paper for practice strokes
- Clear sealer, brush-on or spray (optional)
A painted flower is mostly a set of repeated brush marks arranged around a center. Once you can press a round brush down and lift it to make one petal, you can make a daisy, and the tulip and five-petal blossom use the same handful of strokes in a different order.
The daisy comes first, in full, followed by a tulip and a simple blossom. Plan on one stone per flower while you are learning.
What you need
- Smooth, clean stones about 2 to 3 in (5 to 8 cm) across. A flat top matters more than a perfect shape. If you are not sure what to look for, see how to choose rocks for painting.
- Acrylic craft paint in white, yellow, red, pink, two greens and a background color such as teal, cream or navy.
- A flat brush about 1/2 in (12 mm) wide for backgrounds, a round brush in size 4 for petals, and a small detail brush for stems.
- A dotting tool or the handle end of a brush for flower centers.
- A pencil, a jar of water, a paper towel and a scrap of paper for practice strokes.
Practice the petal stroke first
Load the round brush so the paint reaches about halfway up the bristles, then wipe one side lightly on the edge of the palette. Touch the tip to the paper, press down so the bristles spread, drag a short distance toward you and lift as you go. The result is a teardrop: wide where you pressed, pointed where you lifted.
Make ten or twelve of these on paper first. If the petals look scratchy, the paint is too dry, so mix in a single drop of water. If they spread into blobs, the brush is overloaded.
How to paint a daisy, step by step
- Paint the background. Cover the top and sides of the stone with teal using the flat brush. Brush in one direction, let it dry, then add a second coat across the first. A solid, even background makes white petals look clean.
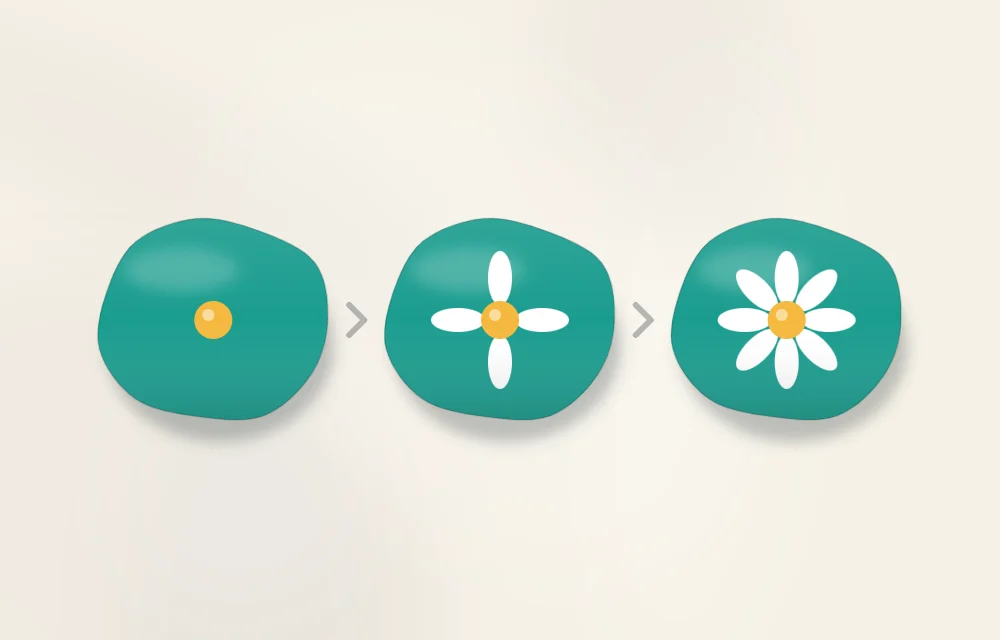
- Mark the center. When the background is dry to the touch, make one light pencil dot where the middle of the flower will be. Slightly off-center often looks more natural than dead center.
- Dot the yellow center. Dip the dotting tool or brush handle straight down into yellow paint and press it onto the pencil mark. Lift straight up. Painting the center first gives every petal a target to aim at. Let it dry for a few minutes so the petals do not drag yellow into the white.
- Paint four petals like a compass. Using the round brush and white paint, place one petal at the top, one at the bottom, one left and one right. Start each stroke at the outer tip and pull toward the yellow dot, stopping just short of it. Turn the stone rather than your wrist, so every stroke is pulled in the same comfortable direction.
- Fill the gaps with four more petals. Add one petal in each space between the first four, for eight in total. Working this way keeps the spacing even, because you are always splitting a gap in half instead of guessing your way around a circle.
- Add a second coat to the petals. White over a dark color is rarely opaque in one pass. Once the first layer is dry, repeat each stroke on top of itself. Two thin coats look smoother than one thick one.
- Refresh the center. If any petal crept over the yellow, add a new yellow dot on top. For a little depth, add a tiny orange or brown dot on the lower edge of the center.
- Let it dry, then seal if you like. Leave the stone undisturbed until the paint is fully dry, following the drying time on the paint label.
Tip
If a petal goes wrong, do not wipe it while it is wet over a fresh background, because that can smear both layers. Let it dry, paint over it with the background color, let that dry too, and repaint the petal.
How to paint a tulip
A tulip is three overlapping teardrops and a stem. It suits a tall, narrow stone, and a cream background sets off a red flower well.
- Stem. With the detail brush and a mid green, pull one slightly curved line from the lower third of the stone up to where the flower will sit. A gentle curve looks more alive than a ruler-straight line.
- Center petal. With the round brush and red, paint an upright egg shape on top of the stem, a little pointed at the top.
- Side petals. Paint one teardrop on each side, starting at the base of the flower and curving up and slightly outward, overlapping the center petal.
- Leaves. From the base of the stem, press and pull upward to make one long leaf on each side, lifting to a point. Vary their heights.
- Definition. When the red is dry, use a slightly darker red to draw the lines where the petals overlap.
How to paint a five-petal blossom
Rounded blossoms work well in clusters on a dark stone. Navy with pink flowers is a strong combination, and several small blossoms hide uneven spacing better than one large one.
- Centers. Place three to five small yellow dots around the stone, leaving at least a finger-width between them.
- Petals. Press the round brush down close to the center and give it a tiny twist before lifting, which makes a soft round shape instead of a teardrop. Place the first petal at the top, two at the lower left and right, then fill the two upper gaps.
- Highlights. When the pink is dry, add a small dab of pale pink or white near the outer edge of each petal.
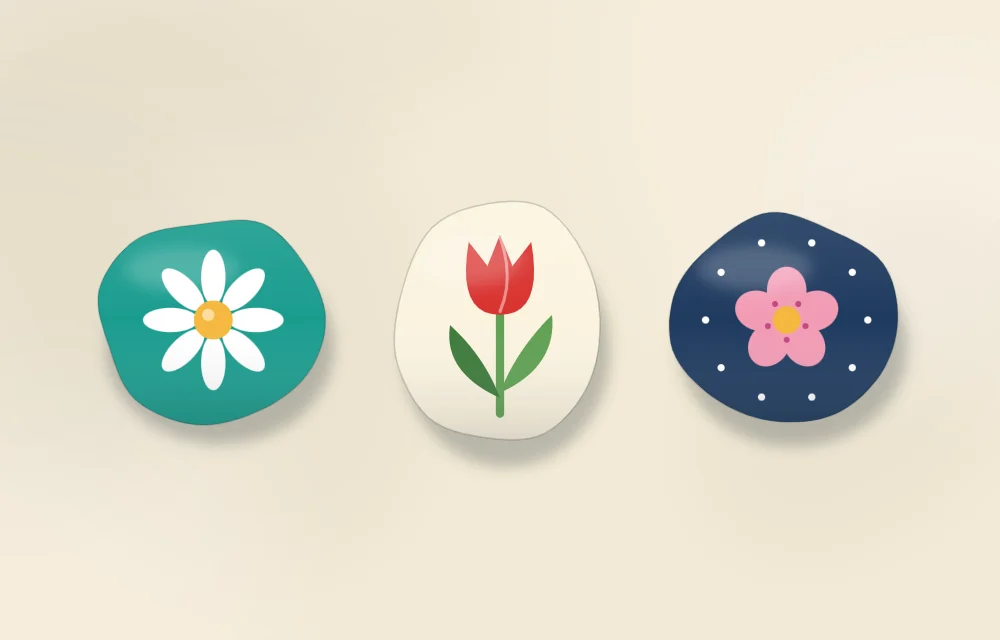
Three flowers at a glance
| Flower | Petal stroke | Best stone shape | Order of layers |
|---|---|---|---|
| Daisy | Long teardrop pulled toward the center | Round or oval | Background, center, four petals, four more petals |
| Tulip | Three wide, overlapping teardrops | Tall and narrow | Background, stem, center petal, side petals, leaves |
| Blossom | Short press with a small twist | Any flat stone | Background, centers, five petals, highlights |
Fixing common flower problems
- Petals look see-through. Light colors over dark need a second coat. The reasons, and when a white underlayer helps, are covered in layering paint on rocks.
- Petals are different lengths. Lightly pencil a circle around the center as an outer limit and start every stroke on that line.
- The flower looks flat. A thin dark line around the petals makes them stand out. See how to outline painted rocks for brush and pen options.
- The stone feels empty. Add a few leaves around the flower. The strokes are explained in how to paint leaves on rocks.
Finishing and display
A clear sealer can help protect the paint from scuffs. Choose a brush-on or spray product intended for acrylic paint and follow the manufacturer’s instructions for the number of coats, drying time and ventilation. Spray products should be used by an adult. Directions for both types are in how to dry and seal painted rocks.
Flower stones kept outdoors can fade, chip or wear over time and may need touching up. They are decorative objects, so keep them away from small children who might put them in their mouths or throw them.
Frequently asked questions
Do I need to paint a background before the flower?
It is not required, but a solid background makes petals look cleaner and brighter than bare stone. Let the background dry fully before adding the flower so the colors do not mix.
Why do my white petals look gray or see-through?
White acrylic is often thin over a dark color. Let the first layer dry and repeat each petal stroke on top of itself. Two thin coats usually look smoother than one heavy coat.
Can I use paint pens instead of a brush for flowers?
Yes, acrylic paint pens work well for small petals, stems and centers, especially on small stones. Shake and prime the pen as the label directs, and let each color dry before drawing next to it.